- Click Next to enter your company’s start date information:
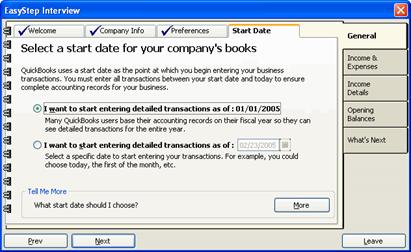
Unless your company is brand new, you’ll need to enter historical transactions, so enter a start date as close to the beginning of your fiscal year as possible.
- Select either the start of your fiscal year (the first option) or another date (the section option) and click Next.
This completes the steps for the General section of the interview.
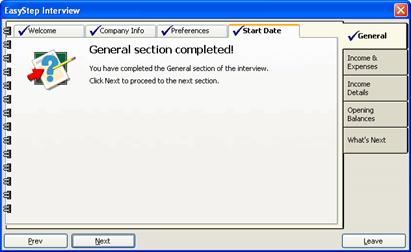
The next stage of the interview lets you set up your income and expense accounts. Continue to click Next until you reach the beginning of the Income Accounts screens:
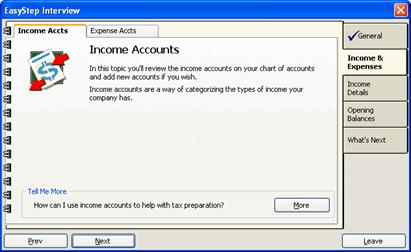
Click Next again to view a list of the income accounts you selected when entering your general company information.
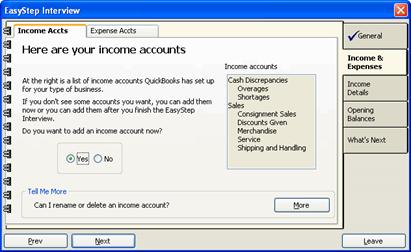
Here, you can add accounts as necessary:
- With Yes selected, click Next.
- Enter a name for the account and select the income tax form line associated with the type of account:
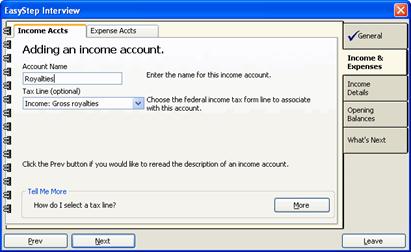
- Click Next.
The new account now appears in the income account list:
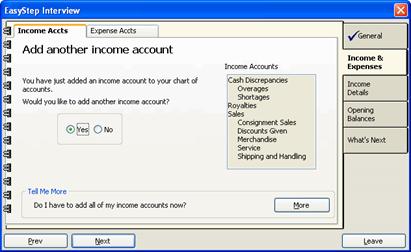
- To add another account, repeat the above steps.
- When you’ve finished adding income accounts, select No and click Next.
This completes the Income Accounts screens.
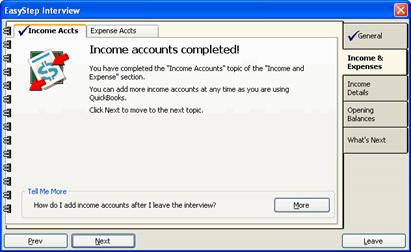
- Click Next to proceed to the Expense Accounts screens:

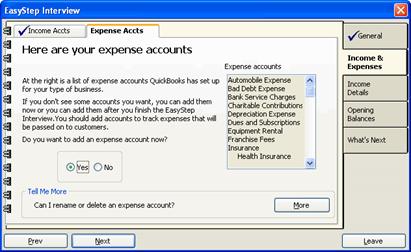
Expense accounts let you track the money your company spends in various areas such as equipment rental, office supplies, utilities and travel. Expense accounts can be subdivided into subaccounts, which make it easier to view and analyze exactly where money is being spent.
If you want to learn more about using expense accounts in QuickBooks, select More Details and click Next to proceed through the informational screens. Otherwise, select No Thank You and click Next.
The next screen lists the expense accounts you selected when entering your general company information:
Here, you can add accounts as necessary:
- With Yes selected, click Next.
- Enter a name for the account and select the tax form line associated with the type of account:
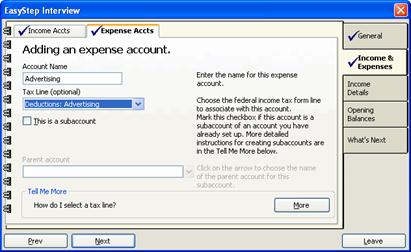
- If you want to make this account a subaccount of an existing expense account, check the box labeled This is a subaccount.
- Under Parent account, select the parent account for the new subaccount you’re creating:
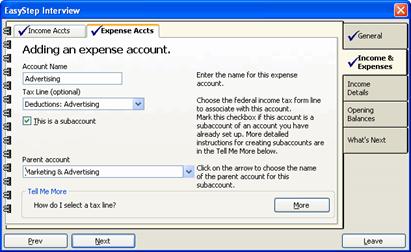
- Click Next.
- The new account now appears in the expense account list. To add another account, repeat the above steps.
- When you’ve finished adding expense accounts, select No and click Next.
This completes the Income & Expense section of the interview.

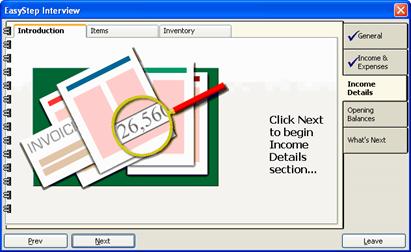
Click Next to proceed to the Income Details section.
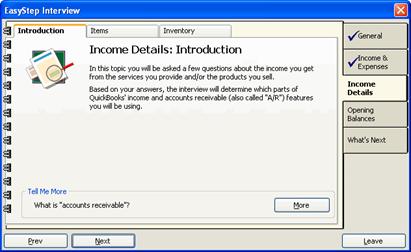
QuickBooks uses the information you provide about your income to determine which income and accounts receivable features to use. Accounts receivable refers to the money owed to you for unpaid sales. This feature in QuickBooks lets you track money owed and the dates payments are or were due.
To enter your income details:
- Click Next to progress to the Receipt of payment screen:

- Select the option that best describes when you receive payment for your goods or services.
- Click Next.
- If you want to produce monthly statements for customers, select Yes; otherwise, select No.
- Click Next.
- Click Next again to proceed to the Items screen:
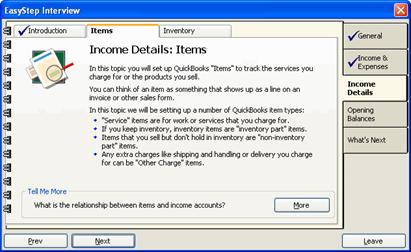
The Items screens prompt you to define the types of items you’ll use to track the goods and services you sell. Items generally reflect line items on an invoice and are associated with a particular income account. When sales are recorded, items are posted to the income account and to accounts receivable.
To define items:
- Click Next to proceed to Service Items:
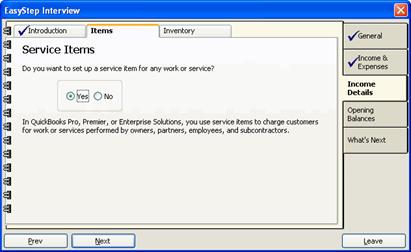
- If you want to set up items for services you provide, click Yes; otherwise, click No to proceed to Non-inventory Parts (Step 20, below).
- Click Next.
- If you selected Yes, the following screen appears:

- Enter a name and description for the item.
- Enter a unit rate for the item. If the rate or price varies, you can either enter a default rate or 0. When creating invoices, you can adjust the price as necessary.
- If the item is taxable, check the Taxable Item box.
- Click Next.
- From the drop-down menu, select the income account to associate with the item:
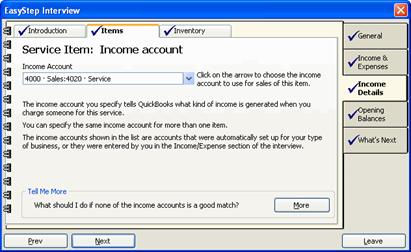
- Click Next.
- If the service is ever performed by a subcontractor, select Yes; otherwise, select No.
- Click Next.
- If you selected Yes, you’re prompted to enter purchase information for the item:
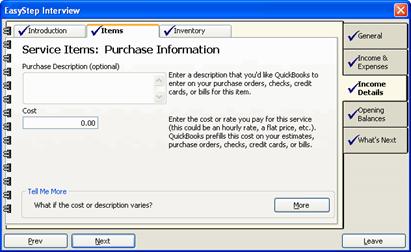
- Enter a purchase description and the cost you pay for the service.
- Click Next.
- Select the expense account to associate with the purchase:
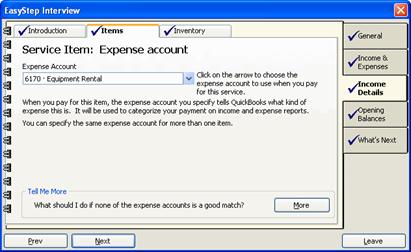
- Click Next.
- To set up another service item, select Yes and click Next. Repeat the above steps until you’ve finished setting up your service items.
- To proceed to non-inventory parts, select No and click Next:
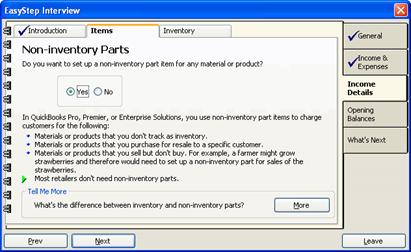
Inventory parts are items you keep in stock. Non-inventory parts are items you sell as soon as you buy. For inventory parts, QuickBooks tracks the quantity and value of your inventory; for non-inventory parts, QuickBooks only tracks what you’ve spent and received.
- To enter a non-inventory part, select Yes; otherwise, select No to proceed to Other Charges (Step 35, below).
- Click Next.
- If you selected Yes to enter a non-inventory part, the following screen prompts you to enter sales information for the part:
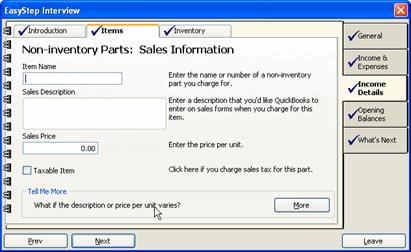
Enter an item name, description and sales price, and check the Taxable Item box if you charge sales tax for the item.
- Click Next.
- Select the income account to associate with the item.
- Click Next.
- If you ever purchase the item to sell to a specific customer, select Yes; otherwise, select No to add a new non-inventory part or to proceed to the next section.
- Click Next.
- If you selected Yes above, you’re prompted to enter purchase information for the item:

- Enter a purchase description and unit cost.
- Click Next.
- Select the expense account to associate with the item.
- Click Next.
- To set up another non-inventory part, select Yes and click Next. Repeat the above steps until you’ve finished setting up your non-inventory parts.
- To proceed to Other Charges, select No and click Next:
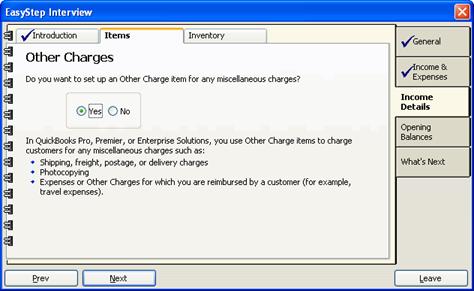
These screens let you set up items for miscellaneous charges such as shipping and handling or other expenses for which you’re reimbursed by the customer.
- To enter an Other Charge item, select Yes; otherwise, select No to complete the Items section of the interview.
- Click Next.
- If you selected Yes, enter an item name, description and sales price:
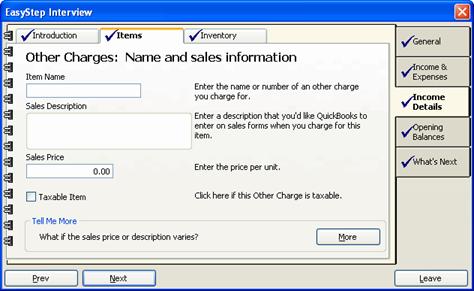
If you charge sales tax for the item, check the Taxable Item box.
- Click Next.
- Select an income account to associate with the item.
- Click Next.
- If this is an item for which you request reimbursement from the customer, select Yes; otherwise, select No.
- If you selected Yes above, you’re prompted to enter purchase information for the item. Enter a purchase description and unit cost.
- Click Next.
- Select the expense account to associate with the item.
- Click Next.
- To set up another item, select Yes and click Next. Repeat the above steps until you’ve finished setting up your miscellaneous items.
- To complete the Items screens, select No and click Next:
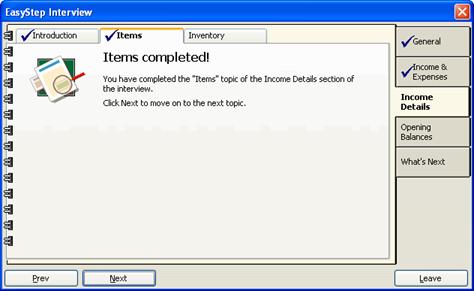
- Click Next again to proceed to the Inventory screens.
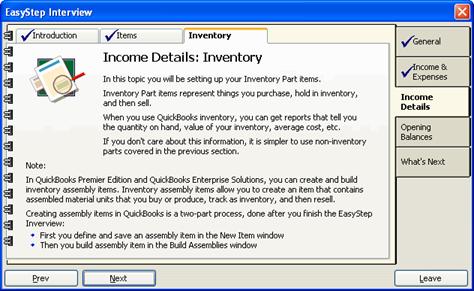
Tracking inventory in QuickBooks lets you produce reports showing quantity on hand, inventory value, cost and other information. However, many businesses choose to track inventory outside QuickBooks. If you indicated in the General section of the interview that you did not need to track inventory, you will be given an opportunity to either skip this section or to set up inventory items anyway.
To set up inventory items:
- Click Next.
- Select I want to set up inventory items:
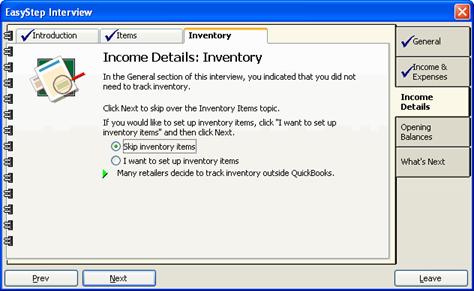
Alternatively, you can select Skip inventory items to proceed to the Opening Balances section.
- Click Next.
- If you opted to add an inventory item, the following screen appears:
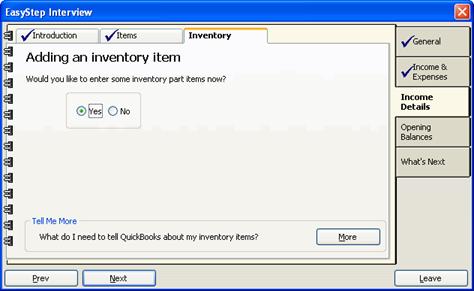
- Select Yes and click Next.
- Enter an item name, sales description and unit price:

- If you charge sales tax for the item, check the Taxable Item box.
- Click Next.
- From the drop-down menu, select the income account to associate with the item:
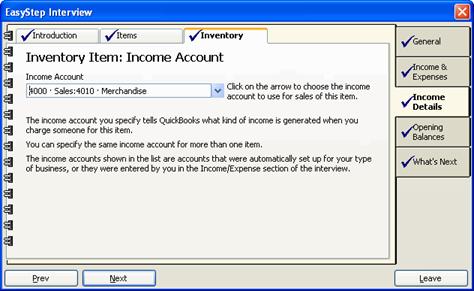
- Click Next.
- Enter a purchase description and the unit cost you pay for the item:
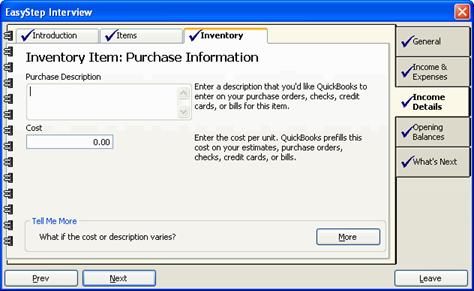
- Click Next.
- Enter a reorder point for the item:
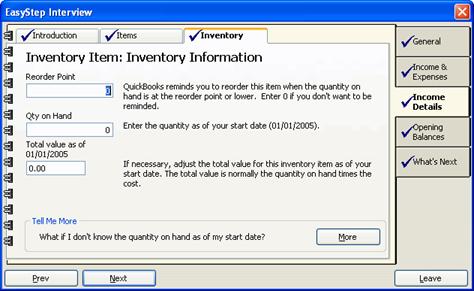
The reorder point is the number of units you want to have remaining in your inventory when QuickBooks reminds you to reorder.
- Enter the number of items in inventory as of your start date.
- Enter the total value of the inventory as of your start date. It’s important to enter an accurate value here; however, if you’re unsure of the value, you can make an inventory adjustment later.
- Click Next.
- To set up another inventory item, select Yes and click Next. Repeat the above steps until you’ve finished setting up your inventory items.
- To complete the Inventory screens, select No and click Next:
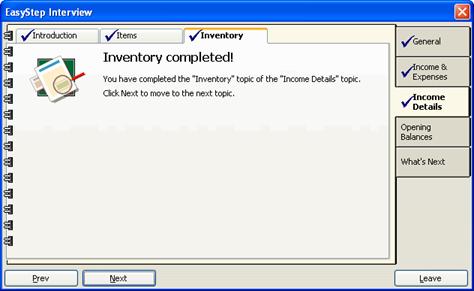
This completes the Income Details section of the interview. Click Next to proceed to Opening Balances.

The Opening Balances section of the interview prompts you for information on the balances of your accounts as of your start date, as well as the customers who owed you money and the vendors to whom you owed money at that time.
These balances should reflect your start date, rather than the current date, since you’ll be entering historical transactions. If you use the current date, your balances may not be accurate.
Before completing this section, you should have on hand the following information:
- Bank statements for the periods representing your start date.
- The values of assets and liabilities as of your start date.
- Customer names and the amounts they owed as of your start date.
- Vendor names and the amounts you owed them as of your start date.
To proceed:
- Continue to click Next until you reach the Enter customers screen:

- If any customers owed you money as of your start date, select Yes; otherwise, select No to proceed to Vendors (Step 11, below).
- Click Next.
- If you selected Yes, select whether or not you want to track jobs (individual projects) for customers:
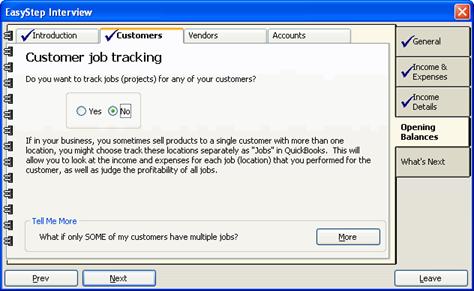
- Click Next.
- Enter the customer’s name and the balance owed to you on the start date:
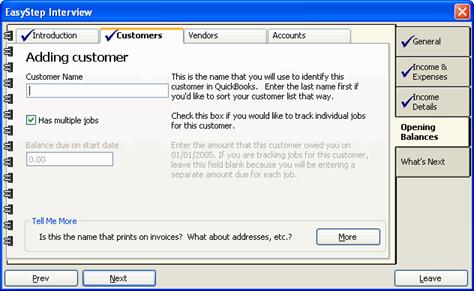
- If you opted to track customer jobs, a Has multiple jobs checkbox is available. Check this box if you’re tracking more than one job for this customer.
- Click Next.
The customer’s name appears in the Customer list.
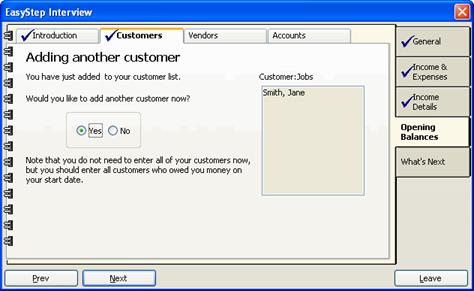
- To add another customer, select Yes and click Next. Repeat the above steps until you’ve finished adding customers with outstanding balances.
After you’ve completed the interview, you’ll be able to add additional details for these customers, as well as those customers who didn’t have balances at your start date.
- To complete the Customers screens, select No and click Next:
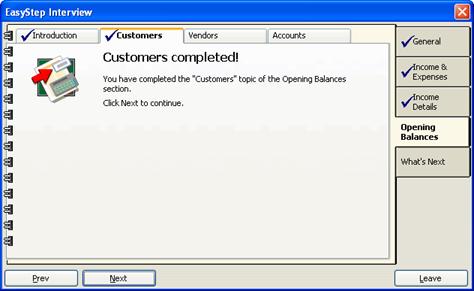
- Click Next to proceed to the Vendors screens.
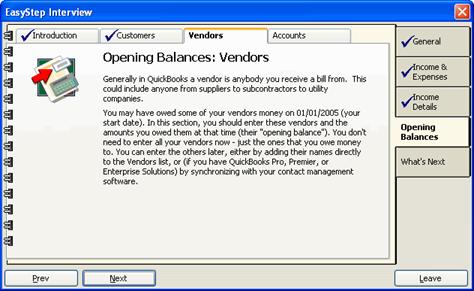
- If you owed money to any vendors as of your start date, select Yes; otherwise, select No to proceed to Vendors (Step 18, below).

- Click Next.
- If you selected Yes, enter a name for the vendor and the balance you owed as of your start date:
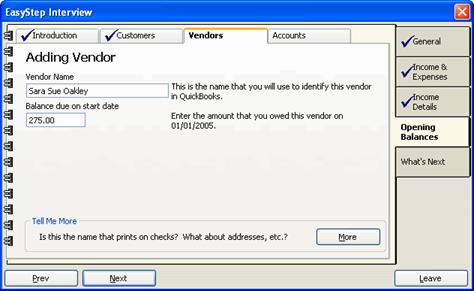
- Click Next.
- To add another vendor, select Yes and click Next. Repeat the above steps until you’ve finished adding the vendors to whom you owed money.
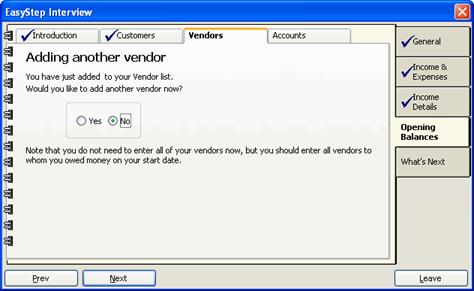
After you’ve completed the interview, you’ll be able to add additional details for these vendors, as well as new vendors as necessary.
- To complete the Vendors screens, select No and click Next:
- Click Next to proceed to the Accounts screens.
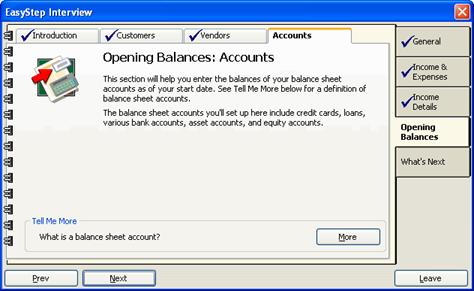
You use the Accounts screens to set up your balance sheet accounts. Balance sheet accounts are those showing your company’s assets and liabilities. They include bank accounts, property, credit cards, loans and equity accounts.
- Click Next to set up your credit card accounts.
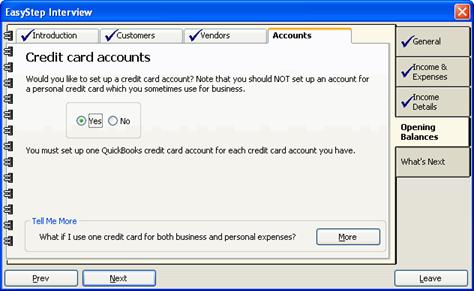
- If your company has a credit card account, select Yes; otherwise, select No to proceed to lines of credit (Step 28, below).
- Click Next.
- If you selected Yes, enter a name for the credit card:
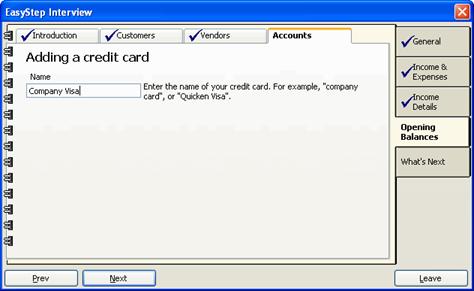
- Click Next.
- Enter the date of the statement closest to your start date:
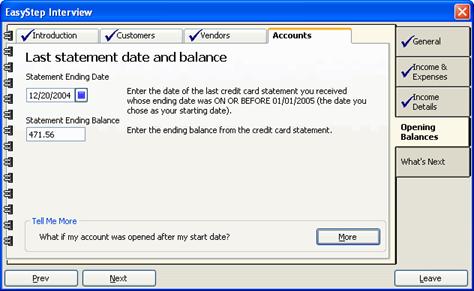
- Enter the ending balance shown on that statement.
- Click Next.
- To add another credit card account, select Yes and click Next. Repeat the above steps until you’ve finished adding your company’s credit cards.
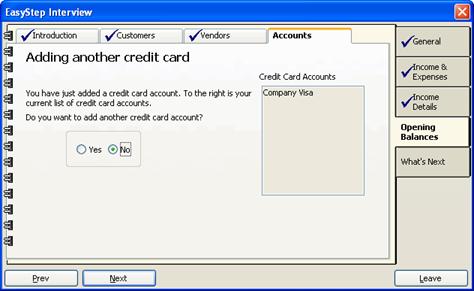
- To proceed to lines of credit, select No and click Next:
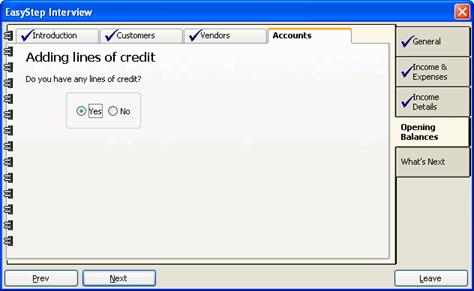
- If your company has a line of credit, select Yes; otherwise, select No to proceed to loans and notes payable (Step 37, below).
- Click Next.
- If you selected Yes, enter a name for the credit line:
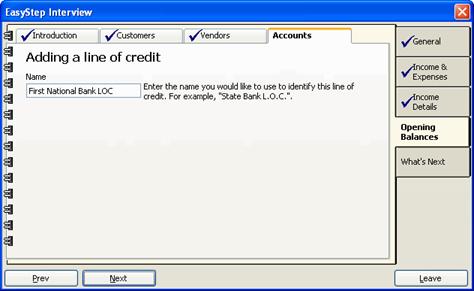
- Click Next.
- Enter the date of the statement closest to your start date:
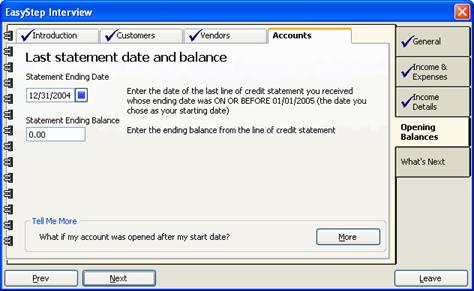
- Enter the ending balance shown on that statement.
- Click Next.
- To add another credit line, select Yes and click Next. Repeat the above steps until you’ve finished adding your company’s credit lines.
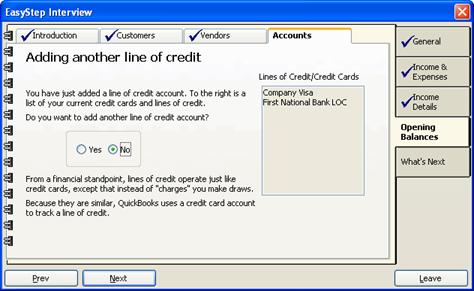
- To proceed to loans and notes payable, select No and click Next:
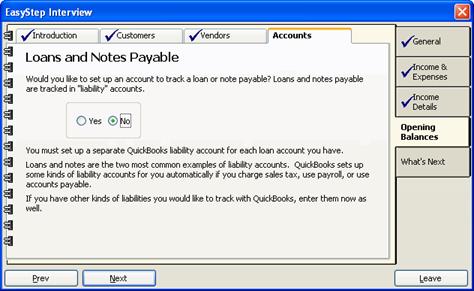
- If your company has taken out any loans, select Yes; otherwise, select No to proceed to bank accounts (Step 44, below).
- Click Next.
- If you selected Yes, enter a name for the loan and the outstanding balance as of your start date:
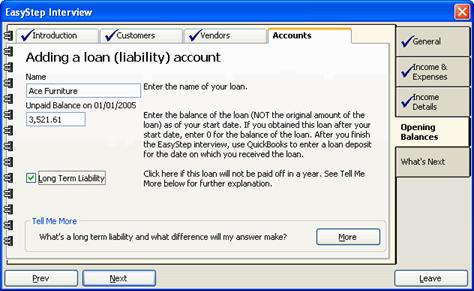
- If the loan will not be paid off within a year, check the box indicating that it’s a long-term liability.
- Click Next.
- To add another loan, select Yes and click Next. Repeat the above steps until you’ve finished adding your company’s loans.
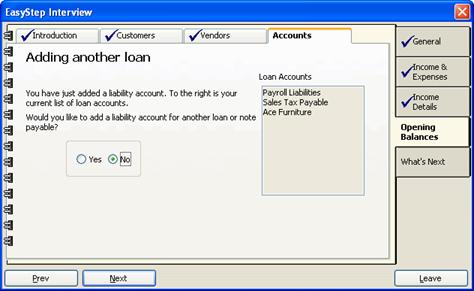
- To set up your bank accounts, select No and click Next:

- Select Yes to add a bank account and click Next.
- Enter a name for the account:
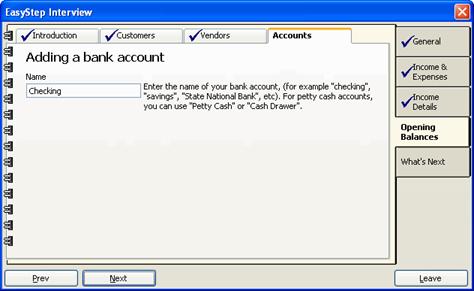
- Click Next.
- Enter the date of the statement closest to your start date:
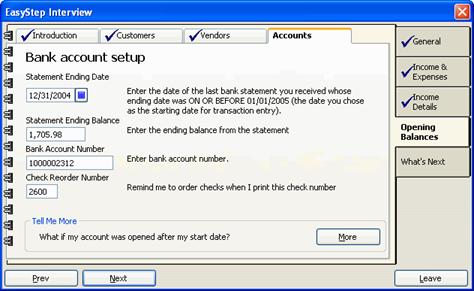
- Enter the ending balance shown on that statement.
If you opened the account after your start date, enter 0 for the account balance.
- Enter the account number and a check reorder number.
- Click Next.
- To add another account, select Yes and click Next. Repeat the above steps until you’ve finished adding your company’s bank accounts.
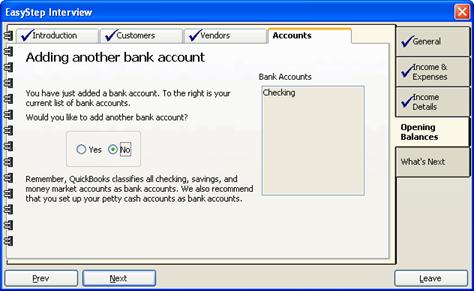
- When you’ve finished adding your accounts, select No and click Next to proceed.
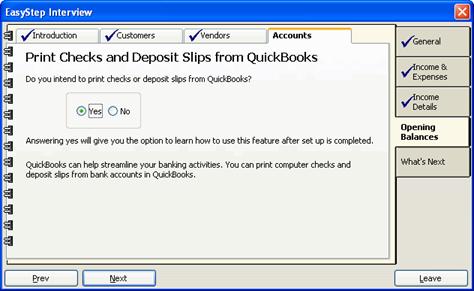
- If you want to use QuickBooks to print checks and deposit slips for your accounts, select Yes; otherwise select No.
- Click Next.
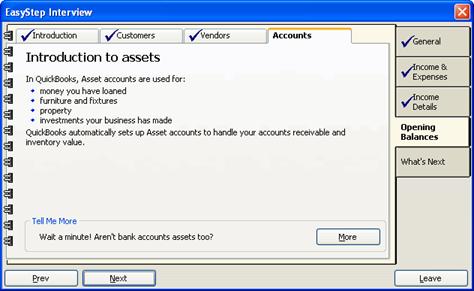
- Click Next to begin entering your company’s assets.
In QuickBooks, “assets” refers to property, investments and money you’ve loaned. While bank and inventory accounts are also considered assets, these are tracked separately.
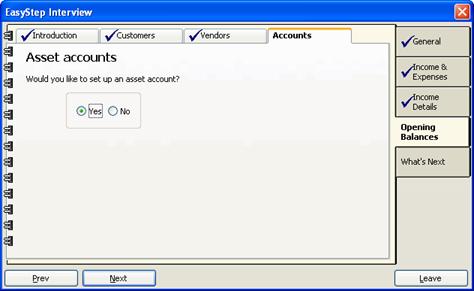
- To add an asset, select Yes; otherwise, select No to proceed to equity accounts (Step 68, below).
- Click Next.
- Enter a name for the asset:
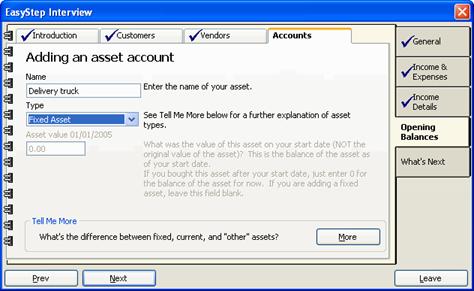
- From the drop-down menu, select the type of asset you’re adding:
- Fixed assets are those you own for a year or more, such as buildings, vehicles or office equipment. Selecting Fixed Asset lets you track depreciation of these items.
- Select Other Current Asset if the asset is easily converted to cash, such as stock or a certificate of deposit.
- Select Other Asset for everything else. This includes loans you’ve made.
- If you selected Other Current Asset or Other Asset, enter the value of the asset as of your start date.
If you selected Fixed Asset, the next two screens will prompt you for additional information.
- Click Next.
- If you selected Fixed Asset, the following screen asks you whether or not you want to track depreciation:
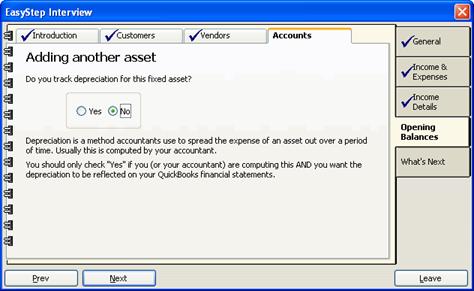
Select Yes if you want depreciation to be reflected in your financial statements.
- Click Next.
- If the item is a fixed asset, enter its value as of the start date:
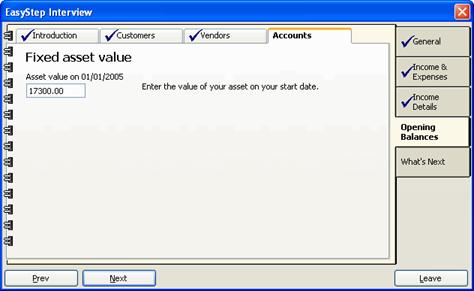
- Click Next.
- To add another asset, select Yes and click Next. Repeat the above steps until you’ve finished adding your company’s assets.
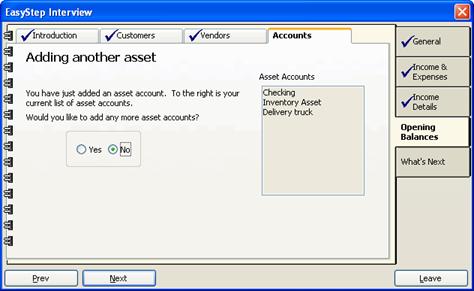
- To proceed to equity accounts, select No and click Next.
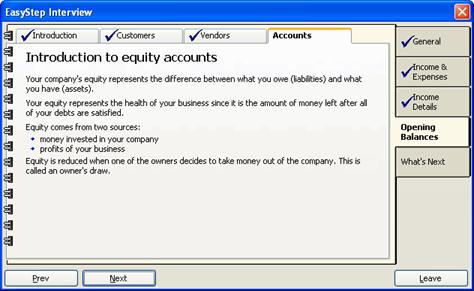
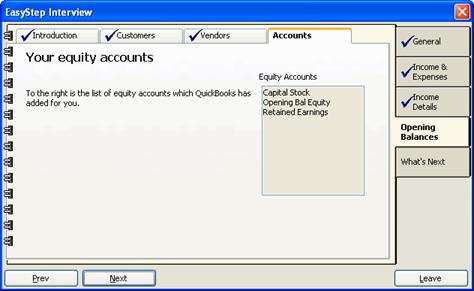
QuickBooks automatically sets up equity accounts to track the net worth of your business. Equity results from profits and from money invested in the company, and is calculated by subtracting your company’s total liabilities from its total assets.
- Click Next to view the equity accounts QuickBooks has established.
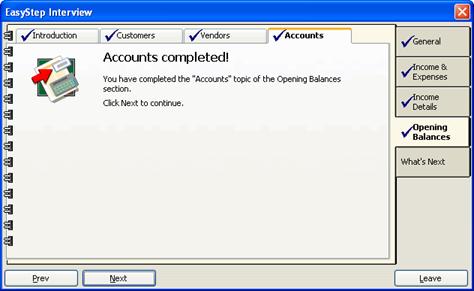
- Click Next again to complete the Accounts screens. This also completes the Opening Balances section of the interview.
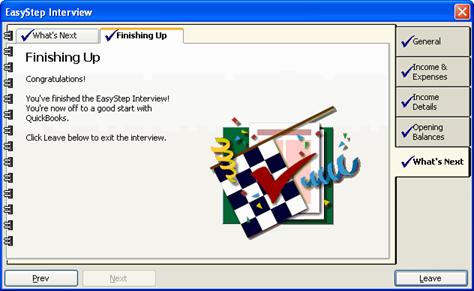
Continue to click Next to proceed through the informational topics contained in the What’s Next section of the EasyStep interview. When you’ve finished, click Leave to exit the interview and begin using QuickBooks.
The next section of this tutorial describes how to use the QuickBooks interface. The following section will guide you through the remainder of the tasks you’ll need to complete to finish setting up your business.
In this section, you learned how to:
- Setup Quickbooks for your company
- Convert data from Quicken
- Create a new company file