Create a Table
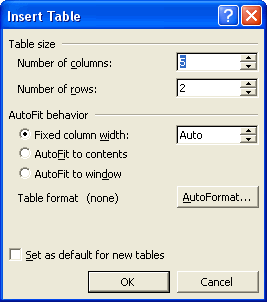
To insert a table into your document, open the Table menu and select Insert Table. This opens the Insert Table dialog, which lets you specify the number of columns and cells.
You can also draw a table using your mouse:
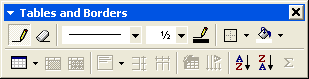
- From the Table menu, select Draw Table, or click the Tables and Borders button on the Standard toolbar.

A floating toolbar appears, and the mouse pointer changes to a pencil.
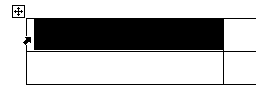
![]() If necessary, click the Draw Table button.
If necessary, click the Draw Table button.
- To draw the first cell of the table, click and drag a rectangle on a blank area of the page.
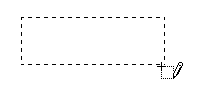
- To draw an adjoining cell, click near the edge of the existing cell and draw the new cell, giving it roughly the same height.
Word snaps the new cell to the border of the first one, adjusting the height as necessary.

- Continue drawing cells in this fashion until your table is complete. You don’t have to draw cells of the same width.
Format a Table
The text and objects you insert into table cells can be formatted the same way you’d apply formatting to selections outside of tables. To format text inside a cell, for example, simply select the text and format it as usual. You can also select the table cell itself by clicking at the edge of the cell. When the mouse is in the correct position, the pointer changes to a small black arrow.
To select multiple cells, click and drag along the cells you want to select.
By selecting the cell, rather than just the contents, you can apply formatting to any text you later enter into the cell—the formatting is applied to the cell, rather than just to the text. The same is true when you select a row or column, or the entire table.
- To select a row, click just outside the left or right edge of the row.

- To select a column, click at the top or bottom edge of the column. When the mouse is in the correct position, the pointer changes to a small black arrow.
- To select an entire table, move your mouse to the upper left corner and clicking the plus sign when it appears.

General table properties, such as width, height, cell margins, and cell spacing, can be defined using Microsoft Word’s Table menu:
- Position the cursor inside a table cell. (You can also select the table, a cell, a row, or a column.)
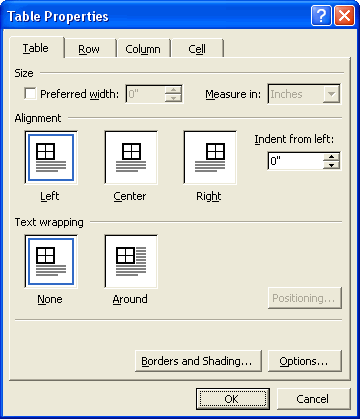
- Open the Table menu and select Table Properties.
The Table Properties dialog opens.
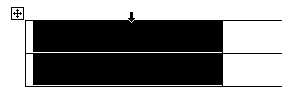
![]() Tip:
Tip:
Table Properties is also available from a shortcut menu, which you can access by right-clicking the table or cell(s).
- Use the Table tab to select properties that apply to the whole table: its width and alignment, and whether or not surrounding text should wrap around it.
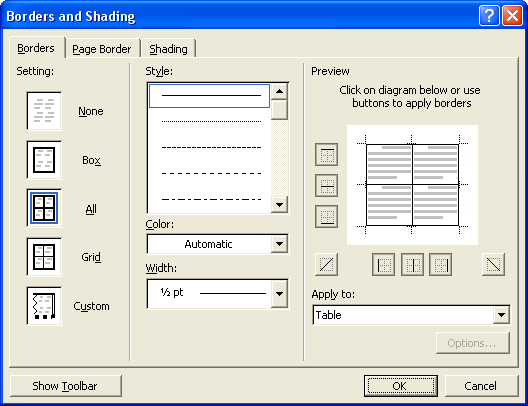
- To apply a table border, click the Borders and Shading button. This opens the Borders and Shading dialog, which lets you specify the border’s style, color, and weight.
![]() Tip:
Tip:
You can apply a border or shading more quickly by selecting the table (or cells) and then using the Border button and drop-down menu on the Tables and Borders toolbar, or by right-clicking the appropriate cells and selecting Borders and Shading.
Click OK to close the dialog and return to the Table Properties dialog.
- Click the Options button on the Table tab to change the default cell margins and spacing.
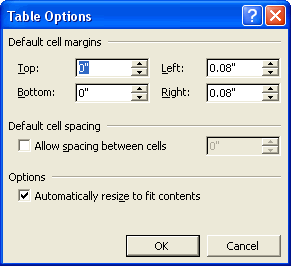
Note:
These values apply to the entire table. If you need to specify margins for a particular cell, click the Options button on the Cell tab instead.
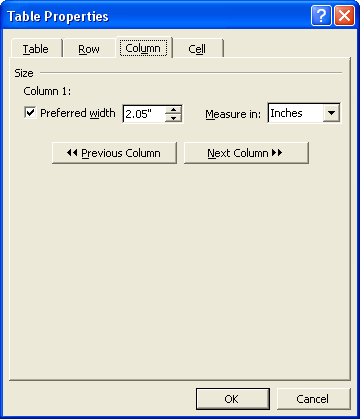
- The Row and Column tabs of the Table Properties dialog let you select options for the table’s rows and columns.
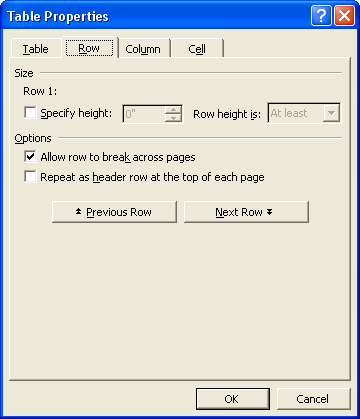
Use the Previous and Next buttons to scroll from one row or column to the next. You can set different options for each row or column in the table.
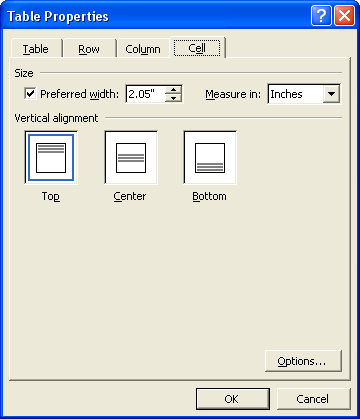
- The Cell tab lets you specify the width and vertical alignment of the selected cell(s). In addition, you can click the Options button to define cell margins, and to specify text wrapping within the cell.
For faster table formatting, Word provides a large number of pre-formatted table styles, which you can apply to any selected table:
- Select the table you want to format.
- Open the Table menu and select Table AutoFormat.
The Table AutoFormat dialog opens.

- For each format you highlight in the list, Word displays a preview of the table. Select the format you want to apply, and any special formatting options.
- Click OK.
Insert Symbols
In Microsoft Word, symbols are special characters that don’t appear on a standard keyboard. These can range from a copyright symbol to icons like smiley faces and checkmarks.
To insert a symbol into a document:
- Open the Insert menu and select Symbol.
The Symbol dialog opens.
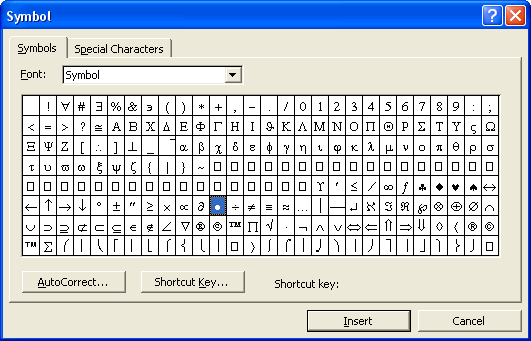
- Different fonts offer different symbol menus, though many include the same standard symbols. By default, the Symbol dialog opens with the Symbol font selected. You can select different fronts from the drop-down menu to view all the available symbols.
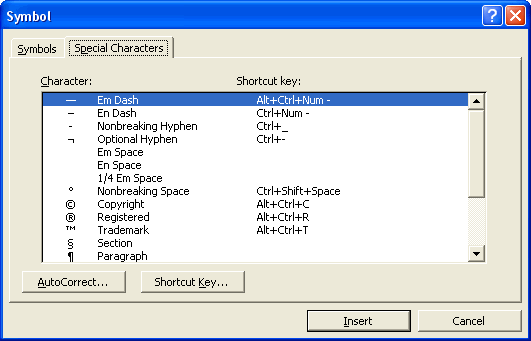
- Many standard special characters, such as the em-dash, the en-dash, the trademark symbol, and the copyright symbol, appear on the Special Characters tab.
- Select a symbol from the menu and click Insert.
![]() Tip:
Tip:
Keyboard shortcut keys for these symbols appear in the Shortcut key column. You can use these to insert the symbol without opening the Symbol dialog. To create your own keyboard shortcut keys, highlight the symbol and click the Shortcut Key button. This opens the Customize Keyboard dialog. Enter a new keyboard combination into the Press new shortcut key field and click Assign.
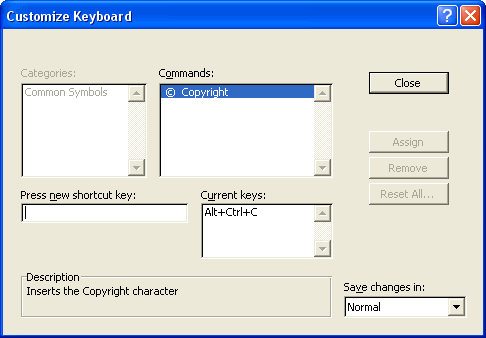
Click Close to close the Customize Keyboard dialog.
- Once you’ve inserted a symbol, click Close to close the Symbol dialog.