Macromedia Flash MX 2004 Part 2: Section 3
In this section, you will learn about:
- Importing sounds
- Using behaviors to load sounds
- Adding videos
- Using the Flash Media Components
Adding Sound and Video
Importing Sounds
Just like buttons, graphics and movie clips, sound files can be imported into a Flash movie and dragged onto the Stage as objects. You can use the Property Inspector, the Timeline and ActionScript to control when a sound begins playing, when it stops, how it loops, and to add effects like fading in and out.
Flash MX supports three types of sound files: .avi, .wav, and .mp3. To import a sound file:
- From the File menu, select Import and then Import to Library.
- In the Import to Library dialog, navigate to and select the sound file you want to import. Then click Open.
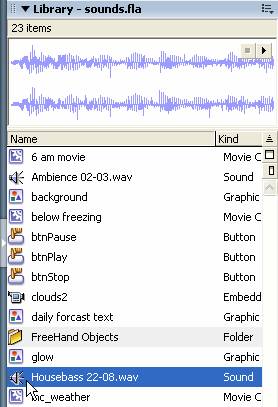
The sound file appears in the library:
Notice that the library thumbnail shows the sound waves:
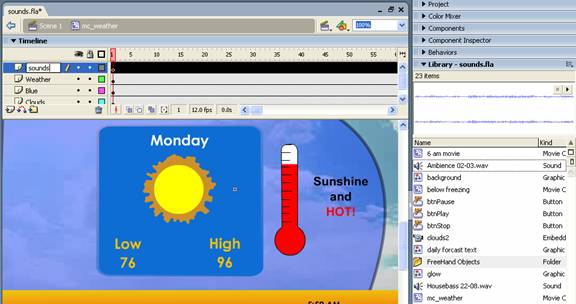
To add the sound to the movie, you actually add it to a layer:
- Create a new layer called “sounds”.
- On the sounds layer, select the frame where you want the sound to begin.
- Drag the sound object from the library to the Stage:
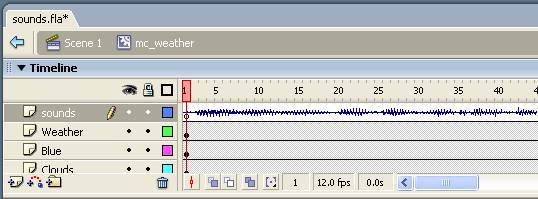
The sound won’t appear as an object on the Stage. Rather, the sound waves appear on the sounds layer in the Timeline:
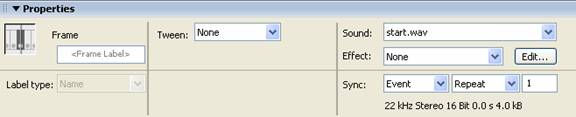
Open the Property Inspector to take a look at the properties:
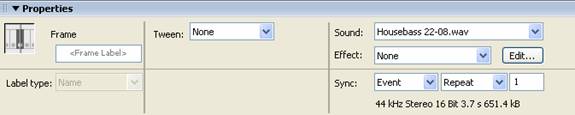
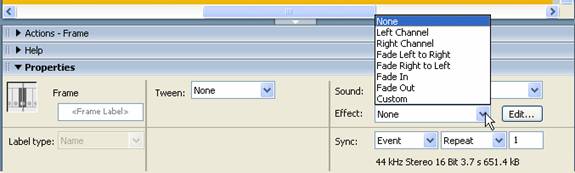
The Property Inspector is displaying the properties of the selected frame. The sound is displayed in the Sound menu for that frame. If you click the Effect menu, you can see a list of effects you can apply to the sound:
Click the Edit button to edit the sound envelope:
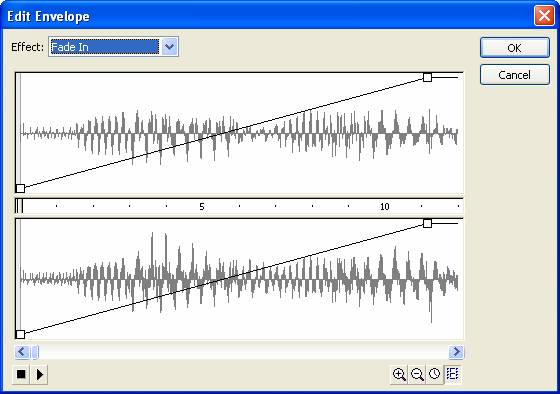
The Edit Envelope dialog lets you manually adjust how a selected effect is applied to the sound. The top panel displays the left channel, the bottom panel, the right. Click and drag the Envelope Handles—the white squares—to adjust amplitude. You can also add an Envelope Handle by clicking anywhere on the line that joins the existing handles.
The ruler between the two pane is actually a Time bar that displays when the sound enters and leaves in either frames ![]() or seconds
or seconds ![]() . On the left side of the Time bar in the screenshot above, you can see a handle
. On the left side of the Time bar in the screenshot above, you can see a handle ![]() . This is the Time in handle—you can drag it adjust when the sound starts. Use the scrollbar at the bottom of the dialog to scroll to the end of the sound, where you’ll find the Time out handle, used to adjust when the sound stops.
. This is the Time in handle—you can drag it adjust when the sound starts. Use the scrollbar at the bottom of the dialog to scroll to the end of the sound, where you’ll find the Time out handle, used to adjust when the sound stops.
At the bottom of the Property Inspector, use the Sync menus to synchronize the sound with your movie. The option you choose applies to the currently selected frame—so different frames can use different sync options, depending on how you want the sound to play at a given point in the Timeline. Event, the default, synchronizes the sound with an event. Practically speaking, the default action is for the sound to begin playing when the Timeline enters that frame, and to continue playing independently of the Timeline. If the sound is longer than the Timeline, it continues to play, even after the playhead has looped back to the beginning of the Timeline. This can create some problems with large sounds. If necessary, the movie will pause at the sound’s start frame (the Event frame) to load the sound. If the animation loops back to the beginning while the sound is still playing, the sound will begin playing again—on top of the previous instance. For this reason, it’s often better to use the Start sync option for sounds that span a number of frames.
Selecting Start causes the sound to begin playing when the movie loads. Selecting Stop is similar to adding a stop() action to an object—it prevents the sound from automatically playing when the movie loads. Use this option when you want the sound to wait for an event, such as a button click, before playing. Stream keeps the sound in sync with the animation, with the length of the sound determined by the number of frames in the animation.
The menu next to the Sync menu lets you set a repeat value. You can select Repeat to loop the sound a specified number of times, or Loop to loop the sound continuously. Looping keeps file size down, while still allowing to span a sound through the entire length of an animation.
Predictably, you don’t have to add sounds to the Main Timeline. You can add them to buttons and movie clips and reference them to control the start and stop of the sound. To demonstrate a simple example, we’ll add a sound to two different states of a button symbol—the over and down states:
- Add any button to the Stage. Then double-click it to enter Edit mode.
- Insert a sounds layer above the default layer:
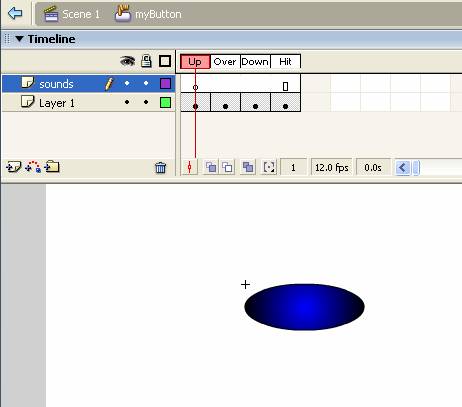
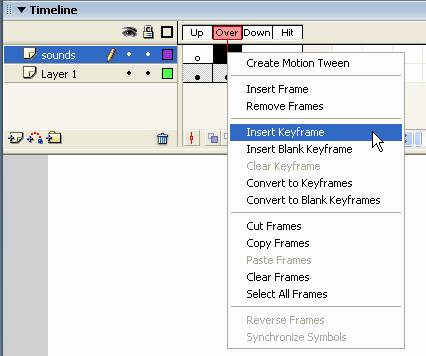
- Insert keyframes into the Over and Down frames of the sounds layer:
- If necessary, import the sounds you want to use to the library. For the purposes of this exercise, the standard Windows sounds work pretty well—you can import a few of them from the Windows\Media folder on your hard drive. We’ve imported chimes.wav and start.wav.
- To add a sound to the over state of the button, click inside the Over keyframe on the sounds layer. Then drag the sound from the library to the Stage, or use the Property Inspector to select a sound from the menu:

Notice that the menu displays all the sounds in the library.
- Keep the default Event sync, and set Repeat to 1 time.
- Next, add a different sound to the down state of the button by clicking inside the Down frame of the sounds layer and selecting the sound from the menu in the Property Inspector:
- Keep the default Event sync, and set Repeat to 1 time.
- Test the button by previewing the movie. One sound should play when you move your mouse over the button, and another should play when you click the button.
As with other Flash objects, you can use ActionScript to control the start and stop of a sound, either attached to a button or elsewhere in the movie. In the next section, we’ll do this by adding some behaviors.