Macromedia Flash MX 2004 Part 2: Section 1
In this section, you will learn about:
- Creating buttons
- Adding behaviors to buttons
- Creating movie clips
- Dividing files into multiple SWFs
Navigating a Movie
Creating Buttons
Buttons provide your users with the essential ability to navigate your movie and perform other actions. In appearance, buttons can be as simple or as complex as you want, incorporating sound, video and other effects, and you can create them right from within Flash:
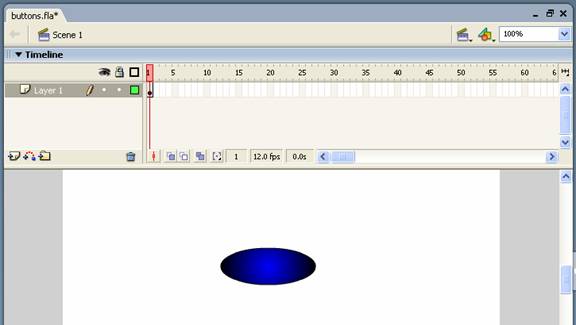
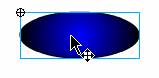
- To start, draw a simple shape on the Stage, giving it the colors you want. Although we won’t do it here, you can add text to the button using the Text tool, then group the shape and the text together by selecting both and pressing Ctrl+G (or selecting Group from the Modify menu).
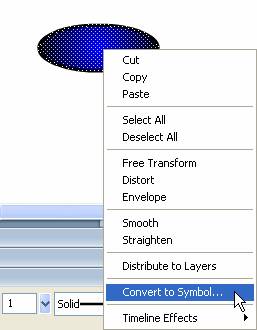
- Right-click the graphic (or the group, if you’ve added text) and, from the shortcut menu, select Convert to Symbol. This command also appears in the Modify menu.
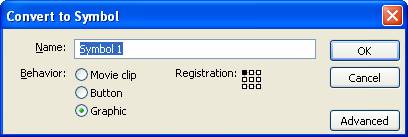
The Convert to Symbol dialog opens:
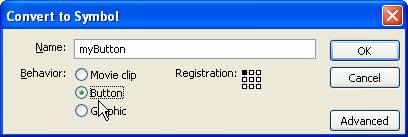
- Give the button symbol a name and select Button as the behavior. Click OK.
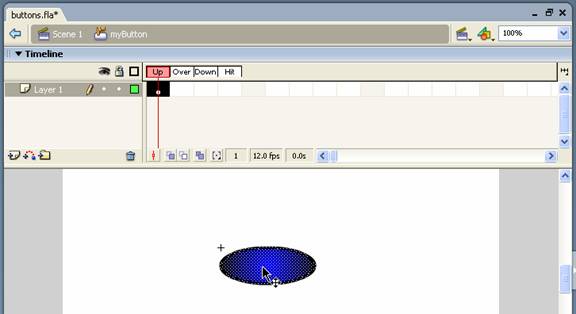
- Next, double-click the button on the Stage to enter Edit mode:
Notice that the Timeline now shows four button states, each represented by a frame—up, over, down and hit:
You’ll create roll-over and click effects by modifying or replacing the symbol in each of these frames.
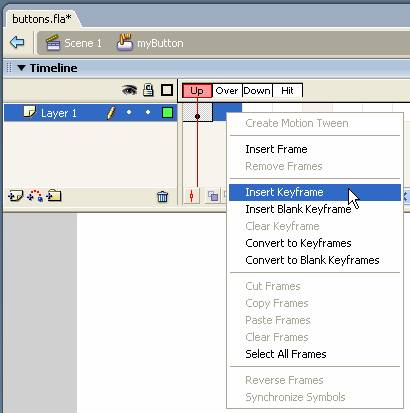
- Insert a keyframe into the Over frame by right-clicking the frame and selecting Insert Keyframe from the shortcut menu or pressing F6:
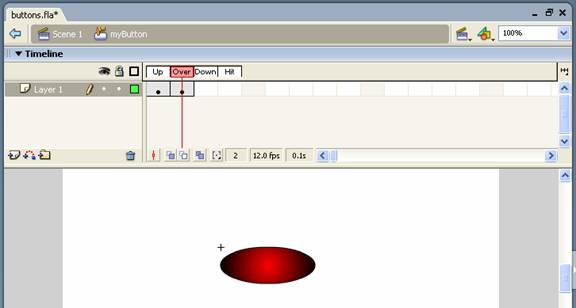
- Flash copies the symbol to the frame. The Over frame represents the mouse-over state—when a user moves the mouse over the button. Change the fill color of the button so that when the user moves the mouse over it, the color changes from blue to red:
If you added text to your button, you could also ungroup the text and graphic elements (Ctrl+Shift+G, or Ungroup from the Modify menu) and change the text. Don’t forget to regroup the elements when you’re done.
- Insert a keyframe into the Down frame and change the fill color again. The Down frame represents the mouse-down state—when the user clicks the button.
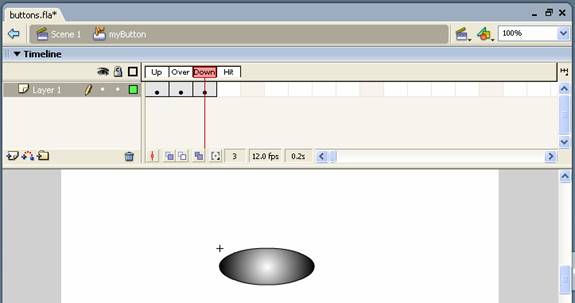
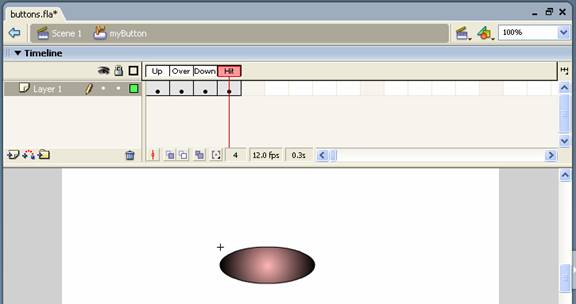
- Finally insert a keyframe into the last frame—Hit. Change the fill color again.
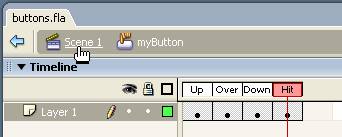
- Exit Edit mode by clicking on the scene name at the top of the Timeline:
Notice that the button now appears as a button symbol in the library:
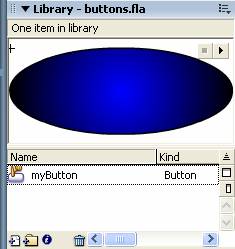
You can press the play button on the thumbnail preview to see the various button states.
The button symbol can now be dragged onto the Stage. As with graphic symbols, for each instance you drag onto the Stage, you can set different properties. You can also give each instance a different action to perform when the user clicks the button.