Layering Flash Elements
Layers are transparent sheets on which you add buttons, text, movie clips, and other objects that form your finished Flash movie. Layers can be envisioned as pieces of tracing paper laid on top of each other. They let you work with each distinct group of elements in your movie separately, and can be named, rearranged, deleted, and made visible or invisible.
The layers in your movie are displayed in the Timeline. Each new Flash document starts with one layer, called Layer 1 by default:
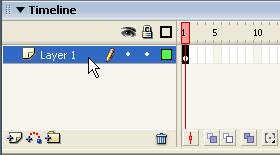
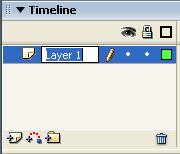
To rename a layer, double-click on it and then type a new name:
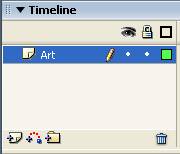
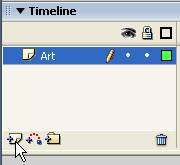
It’s good practice to create a layer for all the different types of elements in your movie, including animations, text, buttons and actions. To create a new layer, click the Insert Layer button at the bottom of the Timeline:
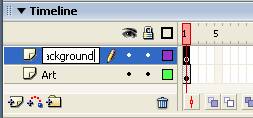
Double-click inside the name of the new layer and give it a new name:
When you add a layer, Flash adds a blank keyframe to the first frame of the layer. If you add an object to the Stage with the first frame of the new layer selected, the object will appear in the movie at the same time as those objects placed in the first frame of the other layers. As the Timeline moves forward through the frames, objects on all the layers will appear and disappear depending on their frame locations. Layers, therefore, are primarily used to organize the objects on the Stage; using separate layers, you can easily control distinct animations without interfering with the other animations and objects on the Stage.
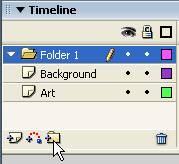
To further organize your layers, you can create folders to group them. To create a folder, click the Insert Folder button at the bottom of the Timeline:
Double-click inside the folder’s name and type a new name for it:
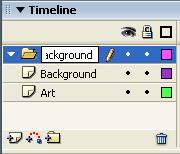
You can add layers to the folder by clicking and dragging each layer into the folder:
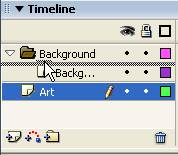
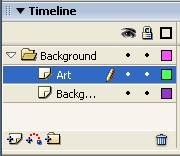
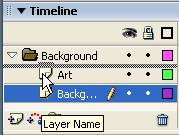
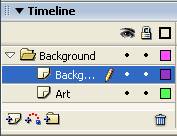
You can rearrange layers the same way—by clicking and dragging them to new positions in the list. Layers are stacked so that objects on the bottom-most layer in the Timeline appear beneath the objects placed on layers higher in the list.
To see how this works, we’ll add a couple of objects to the Stage—each on a different layer. Whenever you add an object to the Stage, you must select the layer on which you want the object to appear. A pencil icon indicates the active layer.
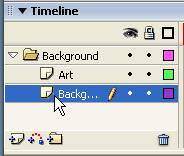
With our Background layer selected, we’ll use the Brush ![]() tool to swipe some paint across the Stage. We’ll then add a rectangle to the Art layer:
tool to swipe some paint across the Stage. We’ll then add a rectangle to the Art layer:
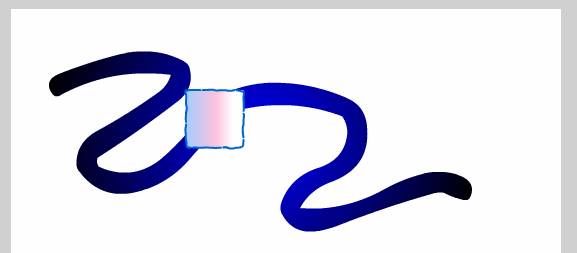
Because the Art layer appears above the Background layer in the Timeline, the rectangle appears on top of the paint stroke. If we rearrange the layers so the Background layer appears higher in the stacking order than the Art layer, the rectangle appears behind the paint stroke:
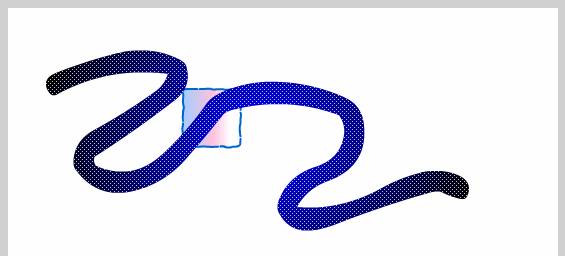
Note that when you select a layer in the Timeline, Flash automatically selects all the objects on that layer. Because our Background layer is selected, our paint stoke appears as a selection, represented by the dotted shading.
When you have a number of objects on a number of layers, you can temporarily hide layers you don’t want to work with. To do so, click the Eye column next to the layer you want to hide. A red X indicates that the layer is hidden:
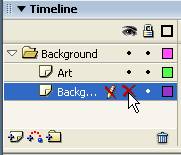
When our Background layer is hidden, only the rectangle appearing on the Art layer is visible on the Stage:

To restore the visibility of the hidden layer, click the Eye column in the Timeline again:
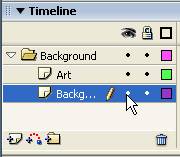
You can lock layers to prevent them from inadvertently being modified when you’re working with another layer. To do so, click the Lock column next to the layer:
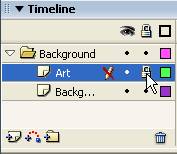
The objects on the layer remain visible, but they can’t be selected or modified.
The last column in the layers list is the Outline column. Clicking the Outline column for a layer displays the contents of that layer as outlines:
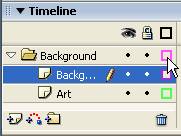
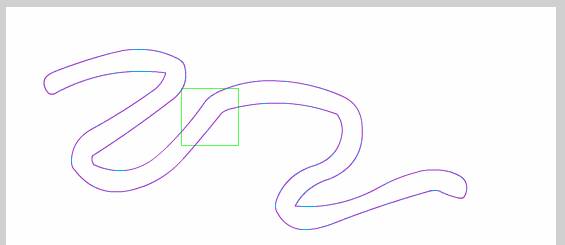
This is a kind of compromise between displaying and hiding a layer—you can see where objects are positioned, but you can also see behind them. You can also display a layer as an outline when you want to use objects on the layer as guides for painting.
A few additional layer properties are available in the Layer Properties dialog, which you can open by double-clicking a layer (away from the name of the layer).
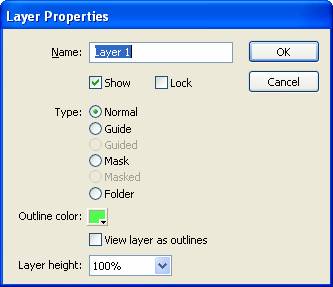
Using the Layer Properties dialog, you can specify such properties as the layer type, the lock and visibility setting, the outline color and the layer height.
Masking Content
You can mask portions of the movie you don’t want visible by adding a mask layer. Objects on mask layers can be animated so the graphics on the underlying layers are revealed as the Timeline progresses.
To create a mask layer, simply add a new layer over the layer in the Timeline that you want masked, name it “mask” and then define it as a mask layer:
- Add an object you want masked to a new or existing empty layer.
- Insert a new layer and name it “Mask”. Make sure the mask layer appears over the layer you want masked in the Timeline.
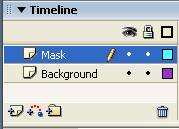
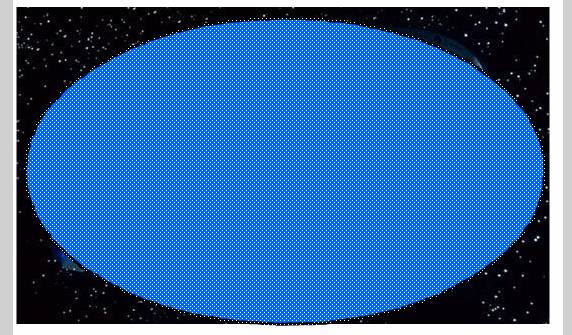
- On the mask layer, draw an over the Stage that you want displayed. Objects that appear outside this layer will be masked, or hidden.
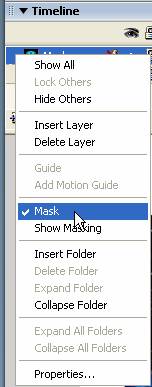
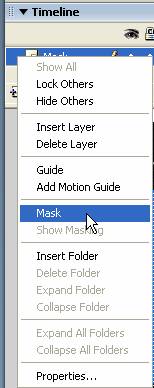
- Right-click the mask layer in the Timeline and, from the shortcut menu, select Mask.
The mask is applied to the underlying layer:
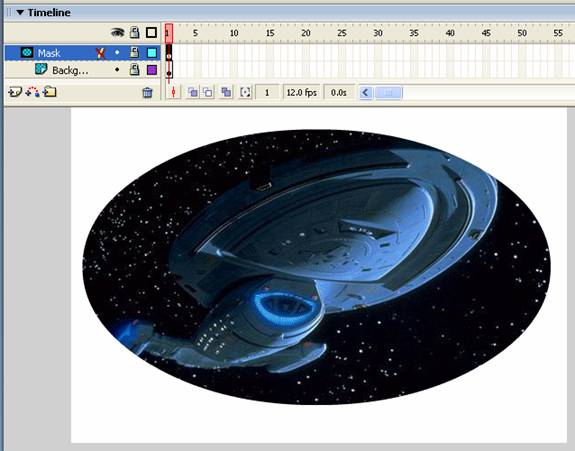
Note that the mask layer now appears in the Timeline with a distinct icon, which is also applied to the layer being masked. The layer being masked now appears indented beneath the mask layer. Both layers are automatically locked.
You can unmask a layer by right-clicking it and selecting Mask again from the shortcut menu:
