Macromedia Flash MX 2004 Section 4: Flash Animation
In this section, you will learn:
- Creating motion tweens
- Creating frame by frame animations
- Using motion guide layers
- Create shape tweens
- Adding timeline effects
Creating Animation
Introduction to Flash Animation
Despite all the newer features that make it possible to develop Rich Internet Applications in Flash, at its heart, Flash is an animation tool. As such, it relies on the Timeline, which controls what the user sees on the screen (though this is no longer true in Flash MX Professional). Creating animations in Flash is very similar to creating cartoons on paper and then shuffling the paper to simulate motion. Each frame on the Timeline would represent one of those pieces of paper. As the playhead moves from frame to frame, the user sees whatever objects appear on the frames. With minor differences in the objects in each frame, the objects appear to move and change shape.
Of course, this is a very simplistic explanation of Flash’s power. In reality, you no longer have to create minute variations for a moving graphic—Flash can take two graphics and plot the steps required to gradually move from the first to the second. This is called “tweening”. (“Tweening” stands for “in between”, referring to the middle frames Flash fills in for you.)
For complex animations in which it’s important to show specific changes (like facial expressions), it’s better to add the graphic for each frame manually. But for simpler animations, Flash can not only fill in middle frames for you, but also morph an object’s shape over the course of several frames, and plot a course of movement across the Stage based on lines or curves you draw. Flash’s built-in Timeline effects let you add pre-designed animation effects to objects on the Stage.
You aren’t limited to graphics in Flash, either. You can introduce and fade out sounds and video, “change screens” (move to a new frame) based on user input, and control how objects are animated on the Stage based on user input or other events. For example, you can write a collision-detection script that tells Flash to move the playhead to a different frame (to display a new animation) when two objects collide or move too close to each other. Animations can be “nested” or embedded in other animations, which are nested in other animations and so on, creating extremely complex but compact movie clips that can be used over and over again.
Creating Motion Tweens
A motion tween is created by placing two instances of an object, each with different properties (color, size, position, etc.), several frames apart and then instructing Flash to fill in the middle frames. The motion tween displays a gradual change from the first object’s instance to the second.
The start and end object instances are placed on special frames called keyframes, which you’ll insert into the Timeline. A keyframe is simply a frame used to hold objects that represent changes in the animation (such as a new graphic) or actions that control the movie.
To create a motion tween:
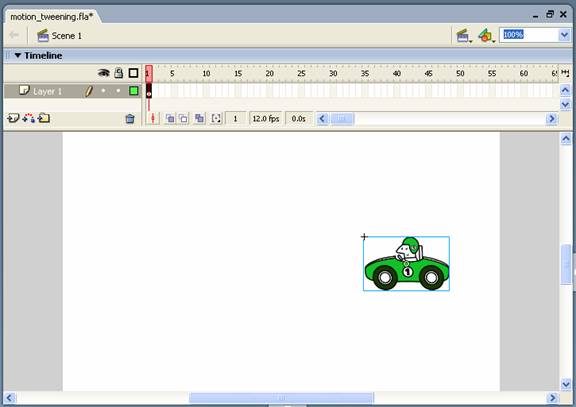
- On the Timeline, select the layer and frame where you want the animation to start. In a new Flash document, you can select the first frame of Layer 1.
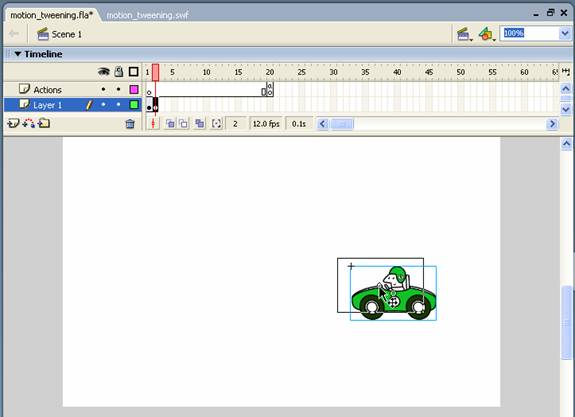
- Place a starting object (for example, an instance of a graphic symbol) on the Stage. You should position it where you want the object to appear at the beginning of the animation.
- On the Timeline, click a different frame on the same layer, several frames away from the starting frame.
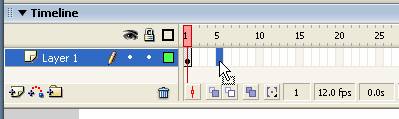
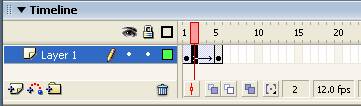
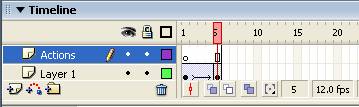
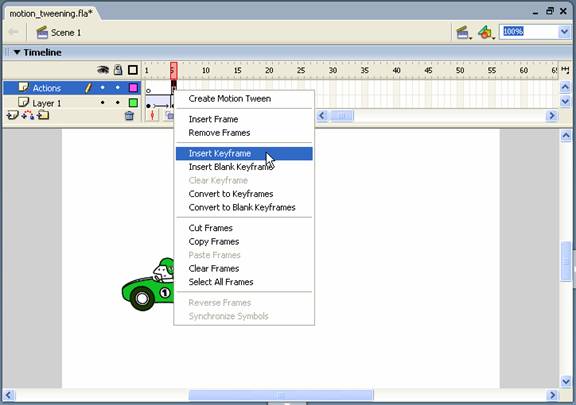
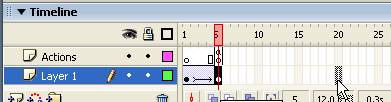
- In the new frame, insert a keyframe: from the Insert menu, select Timeline and then Keyframe. Or, right-click and select Insert Keyframe from the shortcut menu, or just press F6 on your keyboard.
The keyframe appears as a black circle inside the frame:

When you insert a keyframe, Flash copies the objects on the Stage from the last keyframe and pastes them into each subsequent frame through the new keyframe. If you click on any frame between the two keyframes, you’ll see your object selected on the Stage:
The magic of animation is simply altering those objects. In frame-by-frame animation, you would select each frame in turn, create a new keyframe, and then move or replace the object. However, in a simple animation, Flash can make these individual changes for us based on the objects in the beginning and ending keyframes.
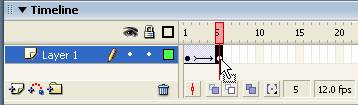
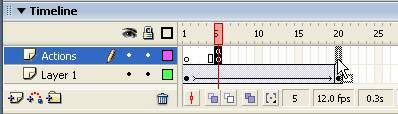
- Right-click on any frame between the two keyframes and, from the shortcut menu, select Create Motion Tween (this command is also available from the Insert Timeline submenu).
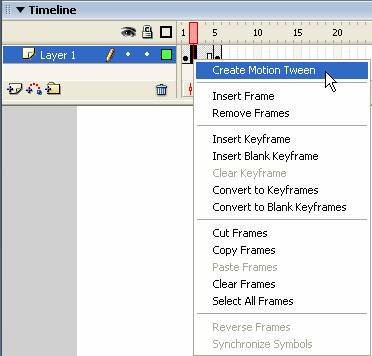
Flash indicates the motion tween with a forward arrow leading from the first keyframe to the second:
- Remember, we haven’t changed our object on the Stage, so the motion tween doesn’t do us much good—our car isn’t going anywhere. We need to add our ending instance of the object. We’ll use the same graphic on the Stage, but we’ll move it to a different location, so the animation will appear to show the car moving from one point to the next.
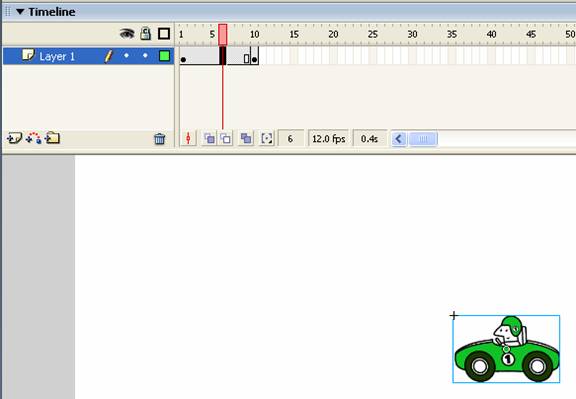
Click the second keyframe on the Timeline to select it:
- On the Stage, move the object to a new location:
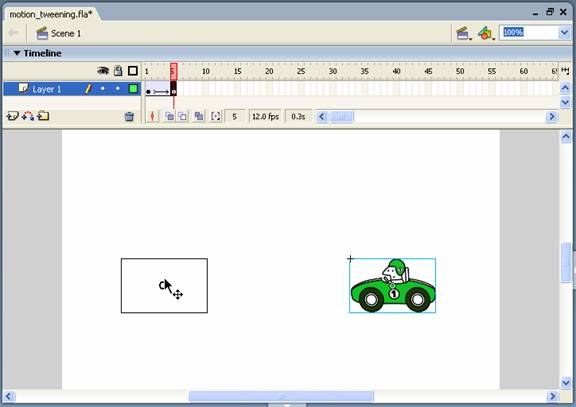
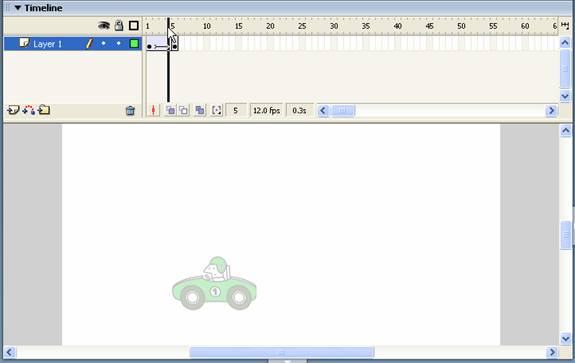
- We can change other properties of the object, as well, depending on the effects we want to achieve. For example, to make the car gradually fade out as it drives away, change its Alpha value to 0%:


The car is now invisible in the last keyframe. On the Timeline, drag the playhead back to frame 1. The car, as it reappears on the Stage, moves backward to its starting position:
- Test the movie by pressing Ctrl+Enter on your keyboard (or Cmd+Return for Mac users).
- Notice that Flash automatically starts playing the animation…which continues to loop. When the playhead reaches the end of the Timeline (effectively, the last frame containing an object), it returns to the beginning and starts playing the animation all over again. You can tell Flash not to loop—but to stop when the animation is finished—by adding a stop() action to the last keyframe:
- On the Timeline, create a new layer and name it “Actions”. It’s standard practice to keep code on a separate layer created just for that purpose.
-
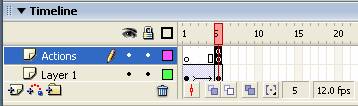
- On the Actions layer, insert a keyframe at the same location as the second keyframe on Layer 1 (for us, that’s frame 5):
-
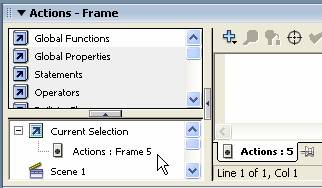
- Now, open the Actions panel (if necessary, select Actions from the Development Panels submenu in the Window menu). Make sure the current selection displayed in the lower left-hand list box displays the correct layer and frame (Actions: Frame 5). This location should also appear on the tab at the bottom of the Script pane.
-
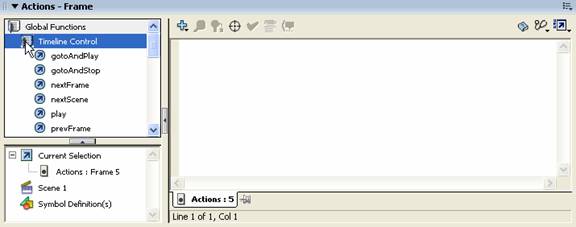
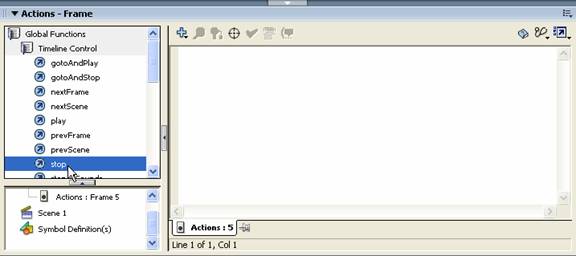
- In the Actions panel, click the Global Functions folder to open it. Then click the Timeline Control folder to see a list of functions related to the Timeline.
Note:
If you can’t see the list boxes on the left side of the Actions panel, click the arrow button on the left side of the Script pane.
-
- Double-click the stop function to add it to the Script pane.
Flash inserts the code:
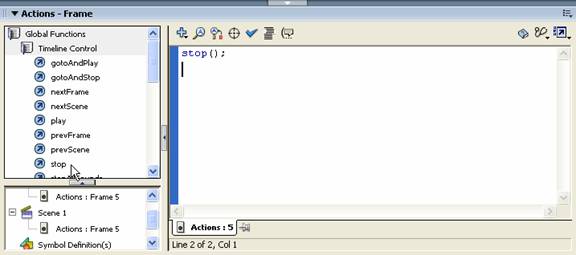
This is the only code you need to stop the current animation. You could have just as easily typed it into the Script pane: stop();
On the Timeline, Flash inserts a small “a” into the keyframe, which tells you that an action appears on that frame:
You can always adjust the length of an animation by clicking and dragging the second keyframe to a new location in the Timeline:
Flash automatically adjusts the motion tween to accommodate the new frames. If you do adjust the Timeline, be sure to drag the keyframe with your stop action to the new location:

Creating Frame-by-Frame Animations
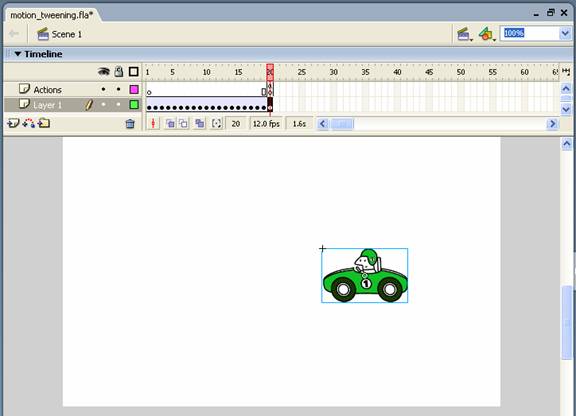
As mentioned earlier, you use frame-by-frame animation when a graphic changes in every frame. Although it’s more time-consuming (and results in a larger file size) than tweening, frame-by-frame animation is essentially created the same way as tweened animations:
- Click the layer and frame where you want the animation to begin.
- Insert a keyframe by pressing F6 on your keyboard.
- Add the starting graphic to the Stage, in the position where you want it.
- Click the next frame on the same layer and insert another keyframe (F6) to copy the graphic from the last frame, or insert a blank keyframe (F6) if you want to add a new graphic.
For example, if you’re animating a comic face, the second graphic might show the eyebrows slightly raised and the eyes subtly widened. If the animation shows the same image in motion, nudge the position of the graphic.
- Continue as above, replacing and repositioning graphics in each keyframe.
- To test the animation, drag the playhead along the Timeline, or press Ctrl+Enter (or Cmd+Return) to test the compiled movie.