Using Color Effectively
In Flash, there are three ways to select a color for an object: you can use the Colors section of the Tools panel, the Property Inspector or the Color Mixer panel. The Color Mixer panel provides more options than the other two, and should be used for creating gradients and entering opacity (Alpha) values for a color. If the Color Mixer panel isn’t already displayed, open the Window menu and select Design Panels and then Color Mixer. By default, the Color Mixer panel appears near the top of the vertical panel group:
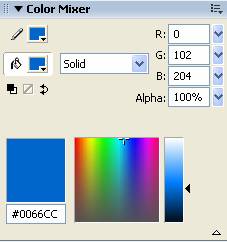
To define a color, you can enter RGB (Red, Green, Blue) or HSB (Hue, Saturation, Brightness) values, or you can enter a hexadecimal value into the field below the large color box at the bottom of the panel. If the large color box isn’t visible, click the small white arrow at the bottom of the panel to expand it.
To switch between RGB and HSB values, click the Options button at the upper right corner of the panel and select RGB or HSB.
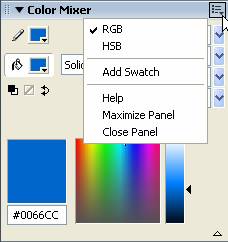
Enter the values for the stroke (displayed in the top left color box) or the fill (displayed in the bottom left color box) into the fields. Or, click a color box and select a color from the palette that opens. To match the color to an object on the Stage, click the stroke or fill color box, and then move the mouse over the object on the Stage. Flash, using the Eyedropper tool, automatically identifies a matching color when you click the object.
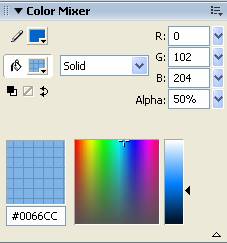
The Alpha field lets you define an Alpha, or opacity, value for a color. The lower the Alpha value, the more transparent the color. As you change Alpha values, the resulting color is displayed in the preview box on the Color Mixer panel:
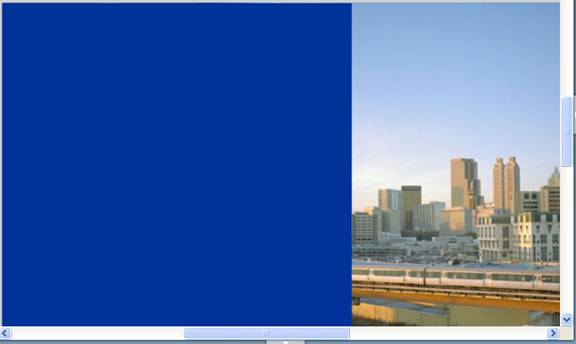
You can use semi-transparent colors to add interesting effects to your movies. For example, the blue box below, when set to an Alpha value of 50%, creates a blue film over the underlying photo:

The drop-down menu on the Color Mixer panel lets you select a gradient style for a fill:
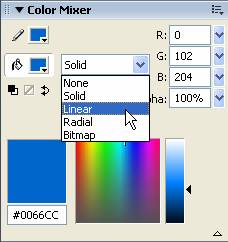
When you select a gradient, a bar appears on the panel with pointer buttons you can move and delete to adjust the gradient:
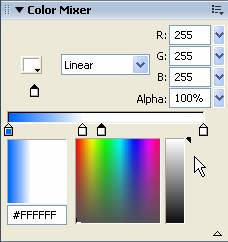
To move a pointer, just click and drag it. The gradient appearing in the bar adjusts to match. For fewer levels in the gradient, drag pointers off the panel. To add a pointer, click just under the gradient bar where you want it to appear:
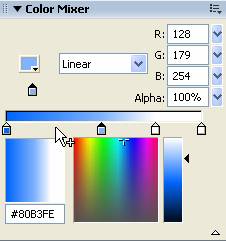
To add a color to the gradient, click a pointer to select it and then select the color from the palette below:
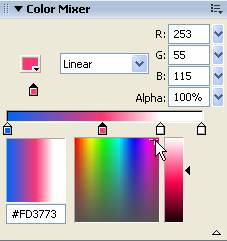
Use the slider on the right to adjust the color’s brightness:
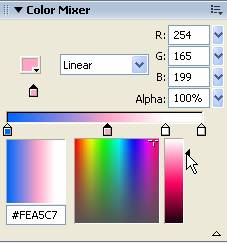
Colors you define on the Color Mixer panel are applied to selected objects on the Stage and to the selected tool. The colors remain on the panel until you define new ones.
Creating a Color Swatch
To preserve a color or gradient you’ve defined on the Color Mixer panel, create a color swatch:
- Click the Options button at the upper right corner of the Color Mixer panel. From the menu that appears, select Add Swatch.
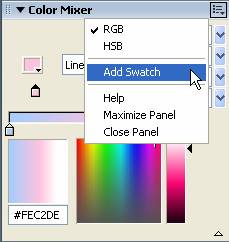
Flash creates the color swatch. The swatch appears at the bottom of the color palette when you select a fill:
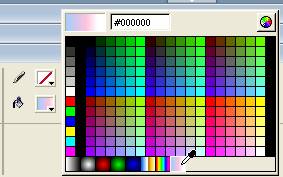
- To apply the swatch to a selected object or a tool, click the fill box on the Color Mixer panel, the Property Inspector, or the Colors section of the Tools panel. Then select the swatch from the color palette.


