Using Styles to Set Formatting
Microsoft Excel 2007 can use formatting to style cells, rows, and columns. This ensures if you decide you want to change formatting later in a spreadsheet, you can simply change one style and have multiple cells update automatically.
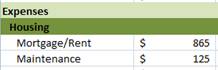
We are going to format the category headings under Expenses, but we’re going to use styles in case we want to change the formatting later.
9. Select row 13.
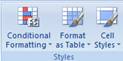
10. Click on the Cell Styles button in the Styles section of the Home ribbon.
11. Click on New Cell Style.
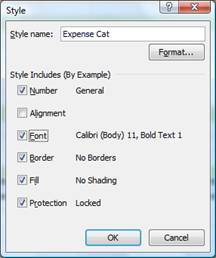
12. Enter the Style Name: of Expense Cat.
13. Check the Font checkbox.
14. Click the Format button.
15. Click on the Fill tab.
![]()
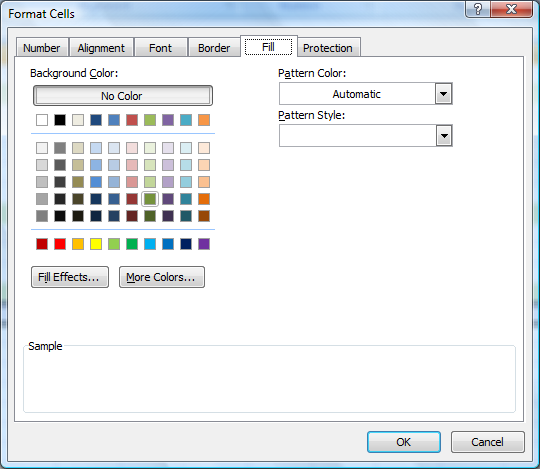
16. Select the fourth green down – the one which is highlighted in the picture above.
17. Click OK.
18. Click OK.
19. Click on row 13.
20. Click the Cell Styles button.
21. At the top, under Custom, select Expense Cat.
22. Unfortunately, the black font doesn’t look that good – so let’s change it!
23. Click on Cell Styles.
24. Right-click on Expense Cat and select Modify.
25. Click the Format button.
26. Click on the Font tab.
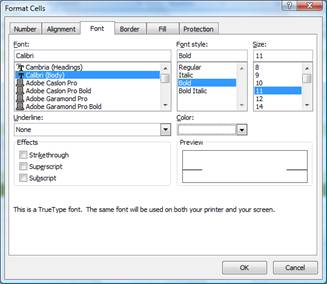
27. Under the Color section, select White.
28. Click OK.
29. Click OK.
30. Ok, that looks better. Now let’s apply the style to the other category rows.
31. Select rows 20, 29, 32, 38, 44, and 52. You select them by clicking first on row 20, then hold down the CTRL key and click on each of the other rows.
32. Now, click on Cell Styles and click on Expense Cat.
33. Save the spreadsheet.
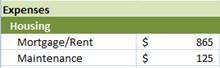
Great job! Here’s a copy of the spreadsheet up-to-date: