Install Windows XP Professional by using Remote Installation Services (RIS).
Remote Installation Services (RIS) is a feature in Windows 2000 Server and Windows 2003 Server that allows network administrators to install Windows 2000 or Windows XP to any number of client computers at one time from a centralized location.
Many desktop support professionals and even network administrators do not have experience with RIS because it is infrequently used by larger organizations that rely on more full-featured tools such as Ghost, SMS, or Altiris. I am fortunate to have consulted with a state agency to deploy RIS into the environment, create desktop images, and develop a roll-out plan using RIS throughout the organization. I hope some this experience will help you when it comes time to answer RIS questions on the 70-270 Windows XP Professional certification exam.
To deploy RIS, your network infrastructure must be able to support RIS-based installations. Also, DNS and Dynamic Host Configuration Protocol (DHCP) servers must be running on the network and you must have the Active Directory service installed. The server you are using must have a separate partition from the system drive, formatted in NTFS, and have at least 2GB free. The system partition cannot be used for deploying RIS images.
RIS uses Pre-boot eXecution Environment (PXE) technology to enable client computers without an operating system to boot remotely to a RIS server that performs installation of a supported operating system over a TCP/IP network connection. You can deploy one or more RIS servers to accommodate your client operating system needs, but each client must have compatible hardware, which includes a BIOS and network adapter that support the remote-boot process. You can create different sets of RIS images to accommodate various configurations of different groups of client computers. You can also use Group Policy settings to limit the installation options that RIS presents to clients. You can use RIS to provide interactive operating system installations that require user input, or fully-automated installations that require no user input other than logon credentials.
Please note: you can only use RIS to perform a clean installation of the Operating System, you cannot use it to perform an Operating System upgrade.
Installing RIS on a Windows 2003 Server
1.Open Control Panel > Add/Remove Programs.
2.Click on Add/Remove Windows Components.
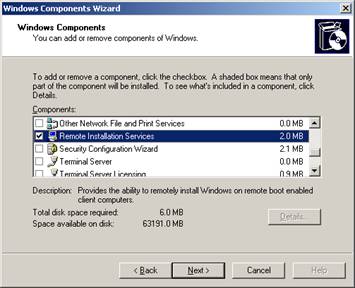
3.Scroll down and select Remote Installation Services. Click Next.
4.Click Finish to compete the installation of RIS.
5.Click Yes to restart the server.
6.Login to the server.
7.Open Administrative Tools > Remote Installation Services Setup.
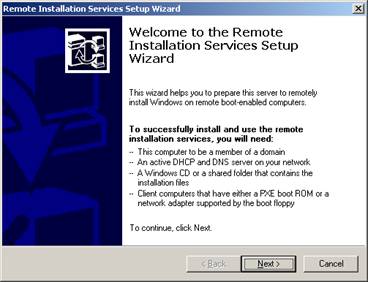
8.Click Next.
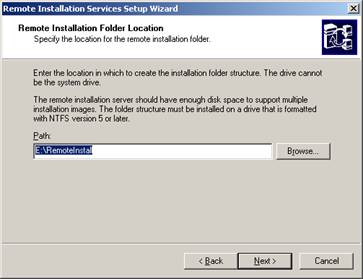
9.Select the location for your installation folder. Please note: this installation folder cannot be on the system drive, it must be on a separate partition. Click Next.
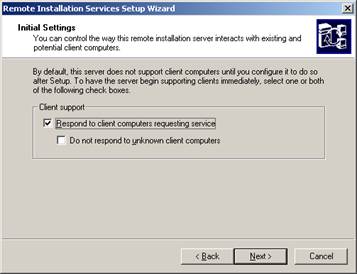
10.Check the Respond to client computers requesting service. Click Next.
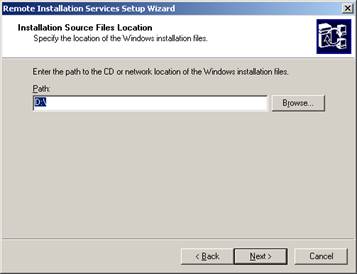
11.Enter the path to the CD drive containing the Windows XP installation CD. Click Next.
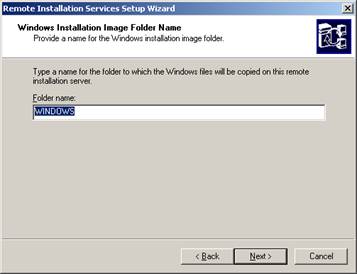
12.Enter the folder name for the Windows installation files. Click Next.

13.If you like the defaults, click Next.
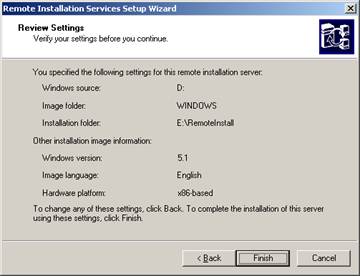
14.Click Finish.
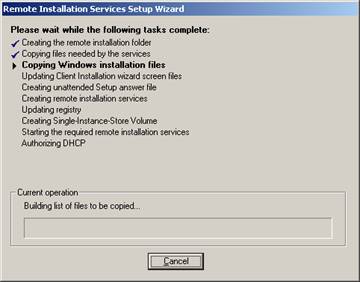
15.RIS copies the files needed and configures itself to deploy to clients.
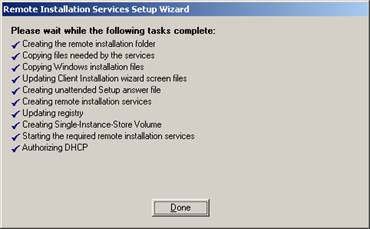
16.Once the setup process is complete, click Done.
17.If you need to add another OS image to the server, open the Remote Installation Services Setup wizard again.
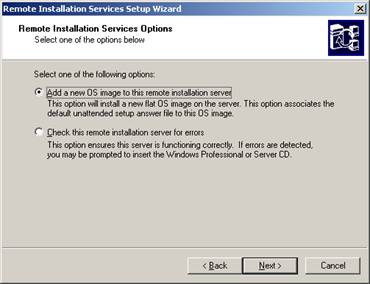
18.Click Next at the welcome screen and on this screen click Next.
19.Now follow the same process as we followed below and add a second image.
Using RIS
1.Boot the computer you would like to use RIS to image.
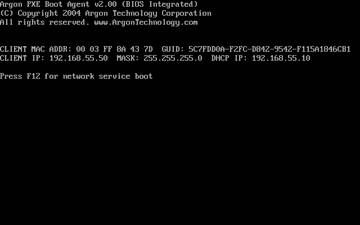
2.When the PXE Boot Agent loads, press whatever key is necessary for a network service boot.
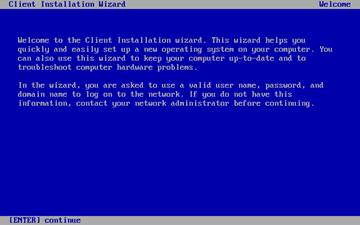
3.Press Enter to continue.
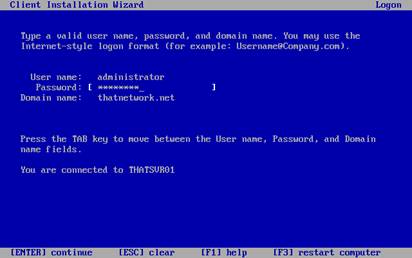
4.Enter a valid user name and password to connect to the RIS server. Press Enter to continue.
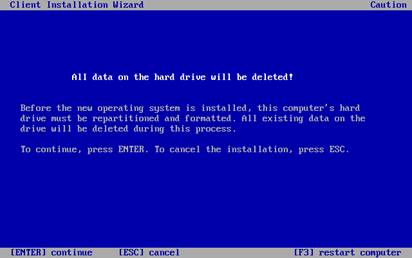
5.Press Enter to continue.
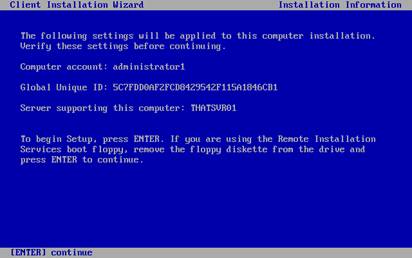
6.Press Enter to continue.
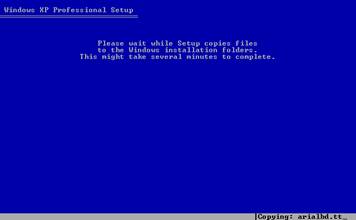
7.Setup copies files and begins Windows installation.
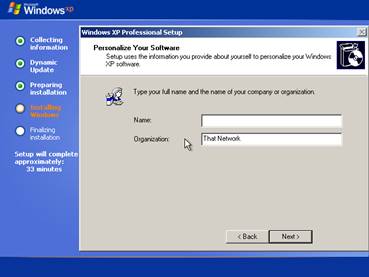
8.Windows follows the standard installation process since we did not specify an answer file for this particular image.
Automating the Windows XP Installation Using RIS
1.Copy the contents of the Deploy.cab file from the Windows XP Professional installation CD to the hard drive of your server.
2.Expand the files from the CAB.
3.Run Setup Manager.
4.Click Next at the Welcome Screen.
5.Select Create a New Answer File and click Next.
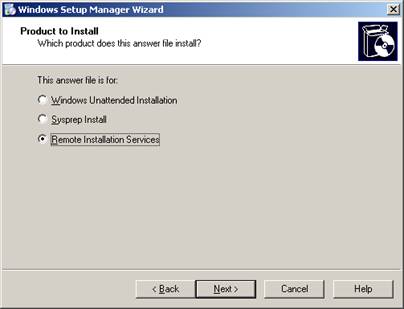
6.Select Remote Installation Services and click Next.

7.You have the same options as we described earlier in Setup Manager. We selected Fully automated for this particular installation. Click Next.
8.Accept the terms of the license agreement and click Next.
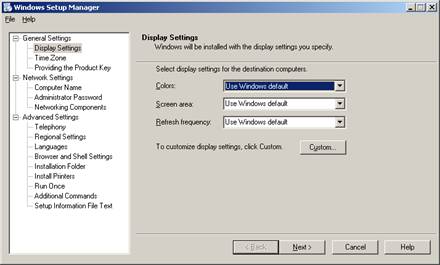
9.Complete the Windows setup parameters.
10.When you fill out all of the options, select a location to save the file.
11.Close Setup Manager.
Associating an Answer File to an Image
1.Open up the Active Directory Users and Computers snap-in.
2.Open Domain Controllers (or wherever your RIS server resides in AD). Select the RIS server, right-click, and select Properties.
3.Click on the Remote Install tab.
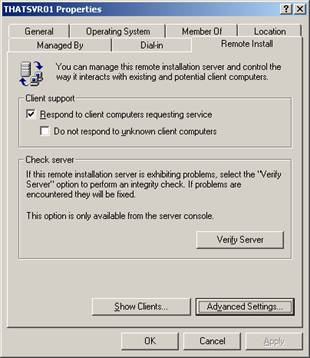
4.Click on Advanced Settings.
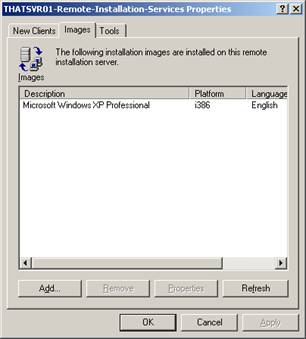
5.Click on the Images tab.
6.Click Add.
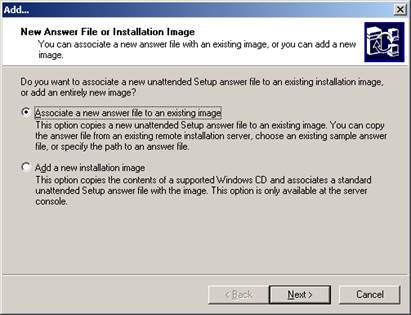
7.Click Next.
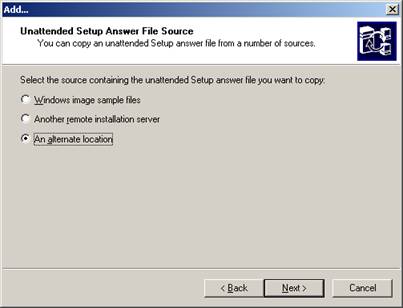
8.Click An Alternate Location and click Next.
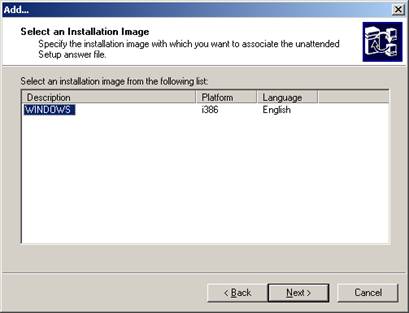
9.Select the image you want to associate to and click Next.
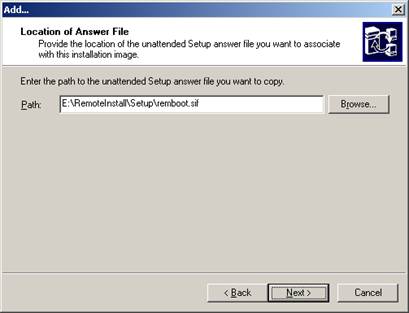
10.Click Browse and navigate to where you have your answer file. Click Next.
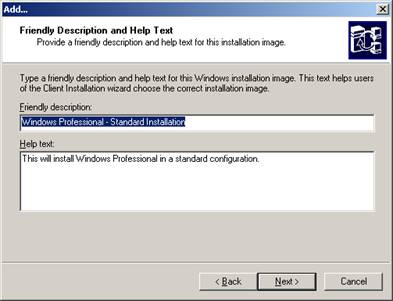
11.Change any friendly description information and click Next.
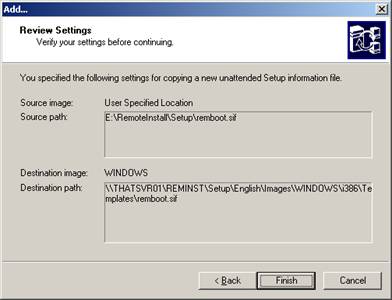
12.Click Finish.
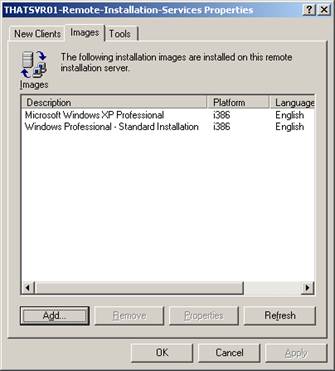
13.You now have your original image and the new image you just created with the answer file you just associated with it.
Creating an Image Using Riprep
The final method to create an image is to use Riprep. Riprep allows you to create a more full featured image – one with software applications installed, settings configured, etc. You run Riprep from the target machine you want imaged, so it contains everything as you have configured it.
1.Configure the target machine you want to image with all of the applications and settings you require.
2.On the machine that you want to image, run this command:
\\servername\reminst\admin\i386\riprep.exe /pnp
This command runs riprep and adds plug’n’play enumeration during installation to identify and load device drivers for changed hardware on the “to be imaged” PC.
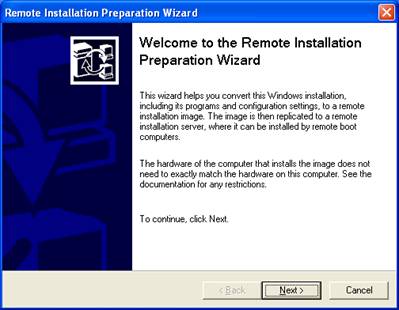
3.Click Next.
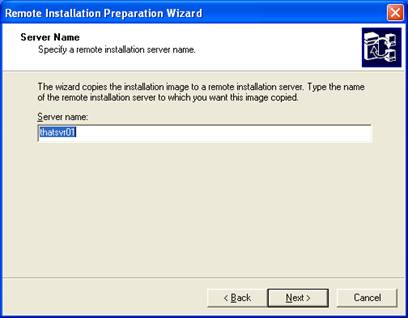
4.Your server name will be different. If you want to create this image on a different RIS server, you could by changing the server name here. Click Next.
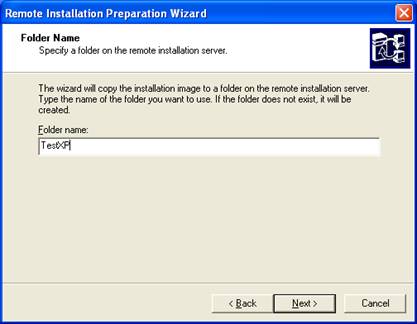
5.Type in the name of the folder you want to use on the RIS server.
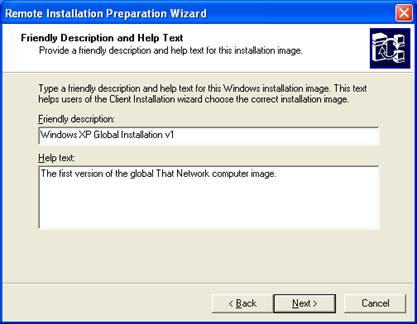
6.Enter in a description and help text, click Next.
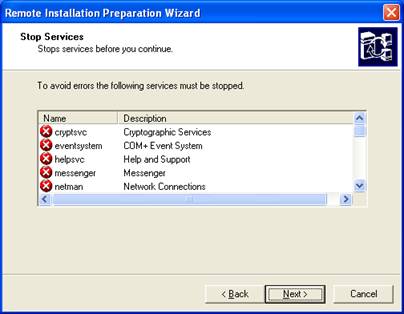
7.Riprep will stop services to continue. Click Next.
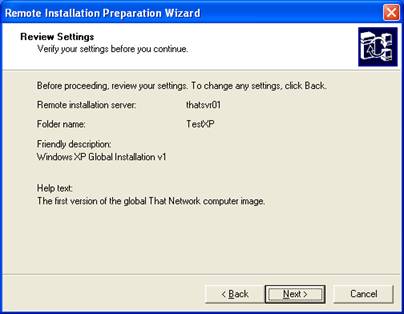
8.Review the settings and click Next.
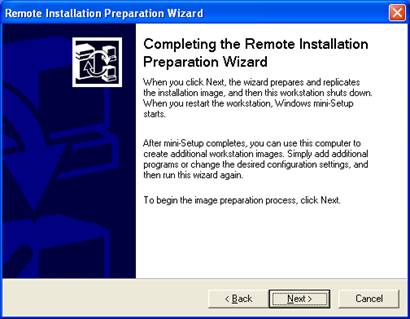
9.Click Next to begin the imaging process.
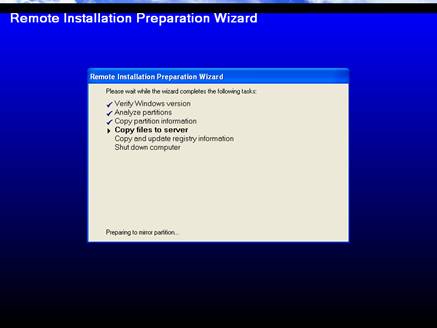
10.The beautifully designed RIP Wizard runs and copies your image.
11.When it is complete, you can shut down the computer.
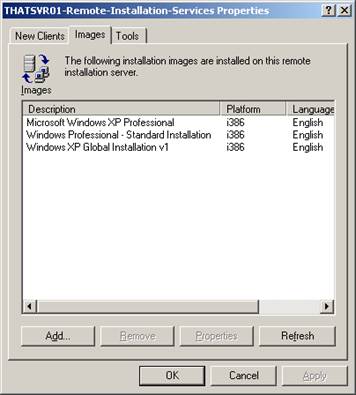
12.If you go to the RIS Server, look at the server properties, Remote Install, Advanced, and then the Images tab. You will see the new image we just created, Windows XP Global Installation v1 is now present on the server. You can begin deploying the image using the methods we described earlier.
More Information About Unattended Installations
If you’d like to learn more about unattended installations, read about it on TechNet at: http://technet.microsoft.com/en-us/library/bb457100.aspx