Section 2: Implementing and Conducting Administration of Resources
In the first section, we looked at how to install Windows XP Professional. Now, we’re going to begin looking at how to administer Windows XP Professional. Microsoft’s goal for this particular certification exam, the 70-270: Installing, Configuring, and Administering Microsoft Windows XP Professional is to produce certified individuals who have a well-rounded understanding of Windows XP Professional.
This free MCSE certification tutorial has generally followed the exam objectives for the 70-270, but in this section we are going to lay the foundation of administering the file system by discussing this first. Next, we discuss how to monitor, manage, and troubleshoot access to files and folders, then we move into discussing printers, and finally, we look at offline files.
Configure and manage file systems.
First, we’re going to discuss Microsoft file systems and how they break down among the different versions of the operating systems Microsoft has released over the years. They are categorized into FAT and NTFS:
FAT & FAT32 File Systems
FAT and FAT32 file systems were created for Microsoft consumer operating systems and lacked many of the features required for business use such as file level compression, security, and encryption. FAT and FAT32 are typically only used by users dual booting between Microsoft Windows 98/ME and Windows XP – NTFS is preferred for almost all other installations.
NTFS
Microsoft created a more durable, business-ready file system with NTFS in Windows NT 4. Windows XP Pro uses a newer version of NTFS which Windows NT 4 (Service Pack 4 and above) can read.
NTFS provides user-level security, file compression, encryption, and disk quotas which FAT does not support.
Windows 98 and ME cannot read NTFS partitions, so you cannot have a bootable Windows 98/ME system on an NTFS drive.
Convert from one file system to another file system.
Since FAT does not support security, compression, and encryption, it is not the ideal operating system for business uses. All is not lost if you selected FAT as the file system of choice during Windows XP setup, you can convert from FAT to NTFS (unfortunately, you cannot reverse this decision – if you chose NTFS, you can’t go back to FAT unless you want to delete the partition and start all over).
Converting from FAT or FAT32 to NTFS uses the convert.exe command. You also cannot convert a FAT to a FAT32 file system using the convert.exe command.
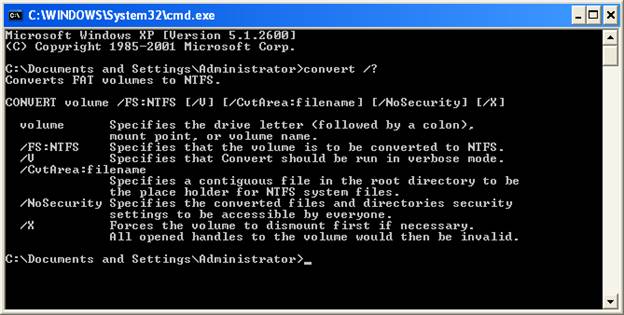
To convert a FAT or FAT32 partition to NTFS, open a command prompt in Windows XP Professional. Let’s convert the drive by typing in the following command:
Convert C: /FS:NTFS /V
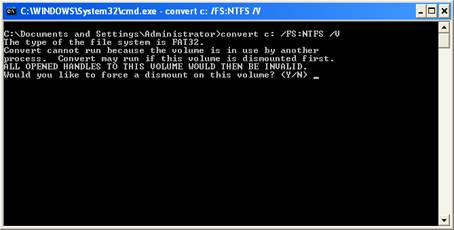
Convert requires the volume to be dismounted, so enter Y at this question.
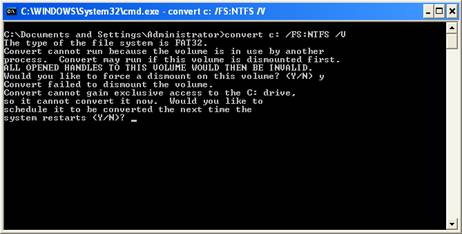
Since the drive I am converting is the primary system drive, the OS cannot gain exclusive access to it. I scheduled it to occur at reboot by entering Y at this prompt.
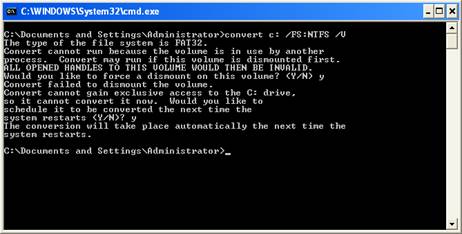
Next, reboot the system to convert the drive.
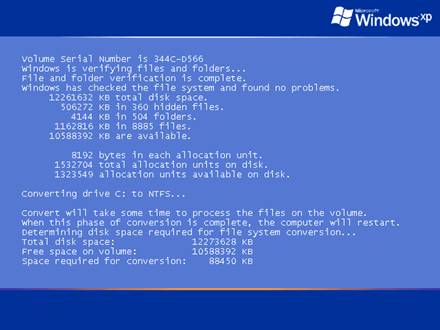
First, Windows runs a chkdsk on your system. Next, Windows shows you the drive details, then it runs through a list of all of the files as it converts the drive to NTFS:

After it has completed the file system conversion, it reboots the system.
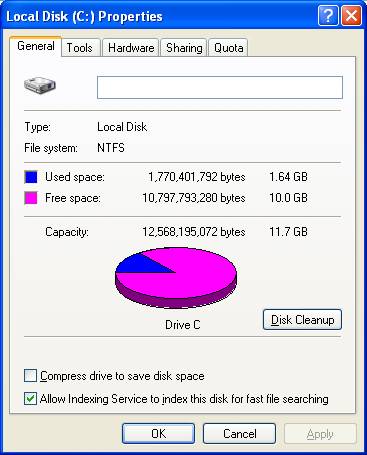
After you login and look at the properties of the drive, you can see it has been converted to NTFS.