Creating a New Company File
If you do not need to convert existing Quicken data, click Next in the EasyStep Interview to progress to the next screen. At this point, you can choose to skip the interview and enter your company information manually; however, using the EasyStep Interview is recommended, since it provides a great deal of information to help you make the correct choices for your particular company.
To complete the Welcome screens, click Next until you reach the Company Info tab:
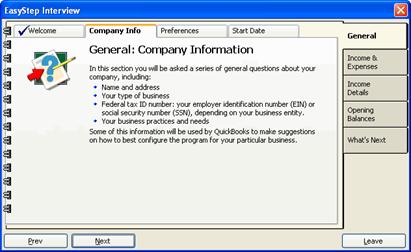
To enter your company information:
- Continue to click Next until the following screen appears:
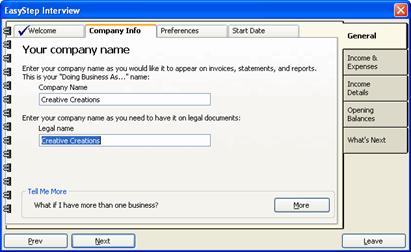
- Enter your company’s DBA and Legal names.
- Click Next.
- Enter your company’s general details:
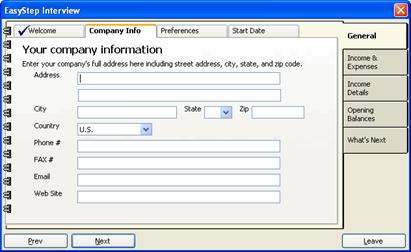
- Click Next.
- Enter your federal tax ID number and the first month of your income tax and fiscal years:
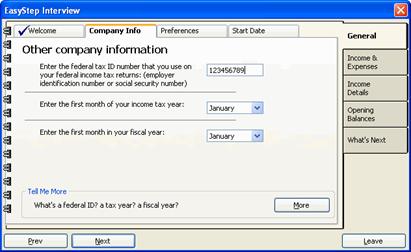
7.Click Next.
8.From the drop-down menu, select the tax form your company uses:
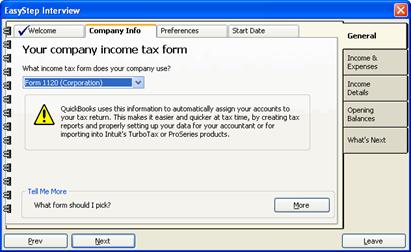
9.Click Next.
10.From the list, select the industry that best fits your type of business:
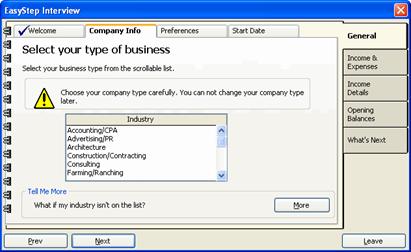
If you provide a service, select Service Business. Some of the options available to you later in the set up will depend on whether you’ve selected a service or product-based business.
If you don’t see an industry that fits your business, select Other.
11.Click Next.
12.Continue to click Next until you’re prompted to save your QuickBooks file:
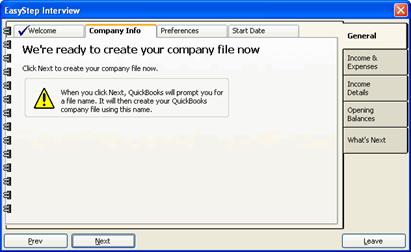
- Click Next to save the file.
- In the Filename for New Company dialog box, browse to the location where you want to save your QuickBooks file and click Save:
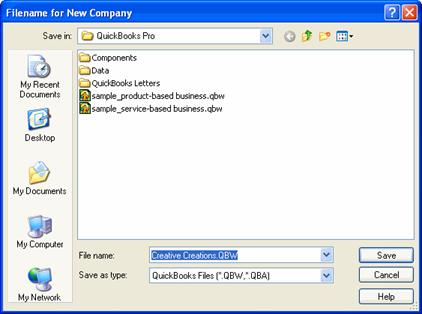
The main QuickBooks interface appears, with the name of your company in the title bar.
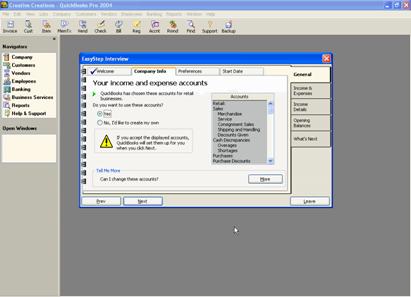
You’re now prompted to set up your income and expenses accounts:
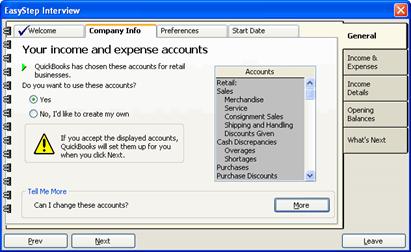
The Accounts list on the right side of the screen contains pre-defined accounts based on the type of business you selected earlier. For now, it’s best to use the accounts QuickBooks has selected; you can always edit or delete them later, as well as add new accounts as necessary.
- Select Yes to accept the pre-defined chart of accounts, and then click Next.
- Enter the number of people in addition to yourself who should be able to access your QuickBooks company file:
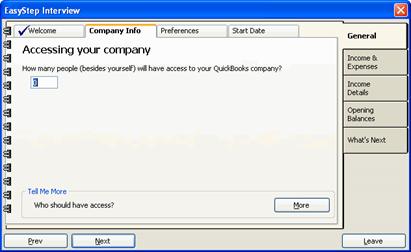
You should include in the number people who will need to enter data and run reports.
You will retain administrative access to the QuickBooks file. As the administrator, you’ll be able to set access privileges for each of your users.
- Click Next.
- Enter an administrator name (such as Admin) and an administrative password:

- Click Next.
This completes the Company Information tab.
- Click Next to proceed to the Preferences tab:
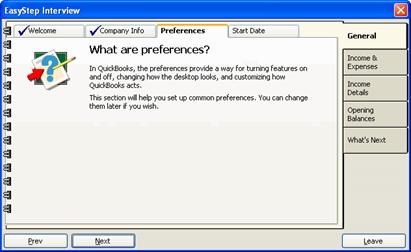
The Preferences screens let you turn on and off features such as sales tax, payroll and time tracking:
- Click Next until you reach the Sales tax screen:
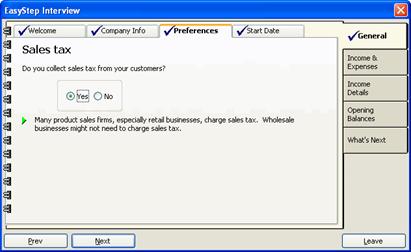
- If you collect sales tax from customers, select Yes; otherwise, select No.
- Click Next.
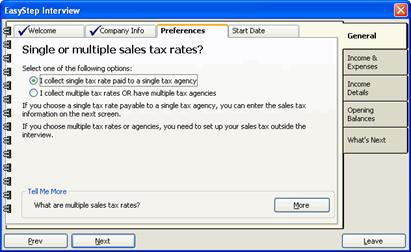
- The next screen asks whether you use single or multiple sales tax rates. If you use a single tax rate, you will be prompted to enter tax and agency information on the next screen; if you use multiple sales tax rates or pay sales tax to multiple tax agencies, you will have to set up sales tax when you’ve finished the interview.
Select the appropriate option and click Next.
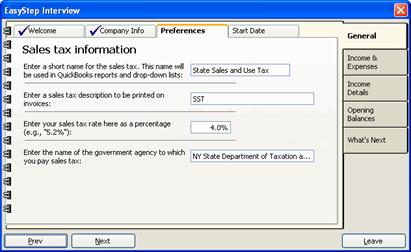
- If you selected a single tax rate, enter your sales tax information and click Next:
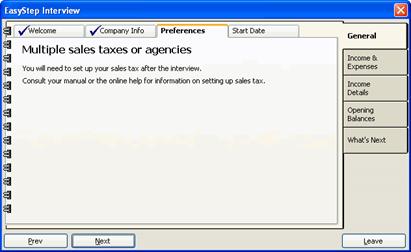
Otherwise, click Next to proceed to the next step:
- Select a default invoice format. When you select a format, a preview of the invoice appears to the right:
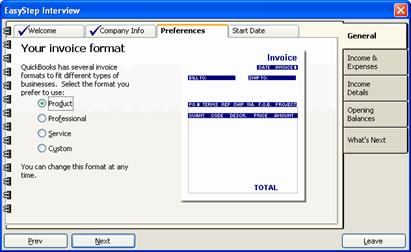
- Click Next.
- The next screen lets you enable payroll functionality in QuickBooks:
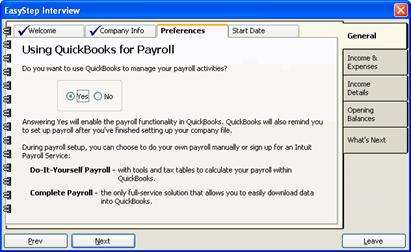
If you want to use QuickBooks to manage payroll, select Yes; otherwise, select No.
If you select Yes, you’ll be able to set up your payroll activities after you’ve completed the interview.
- Click Next.
- If you prepare estimates for customers, select Yes in the next screen; otherwise, select No:
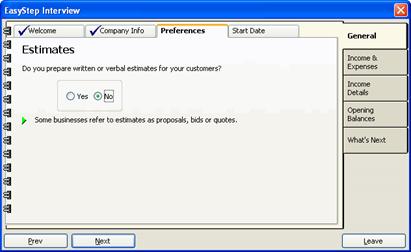
- Click Next.
- If you want to track time spent on projects, select Yes; otherwise, select No:
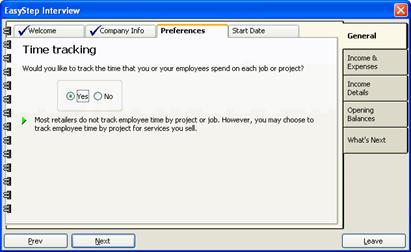
- Click Next.
- The next screen lets you enable the use of classes. Classes let you break down your business by transactions, so that you can track income and expenses by the various segments of your business, such as a retail location, a department or a particular enterprise. This lets you more easily determine profit and loss for those parts of your business you want to keep an eye on.
If you select Yes, you’ll be able to set up classes when you’ve completed the interview.
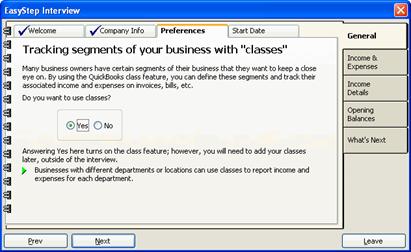
- Click Next.
- Choose how you want to handle bills and payments-by entering checks as you write them, or by entering bills, which you’ll pay as they become due:
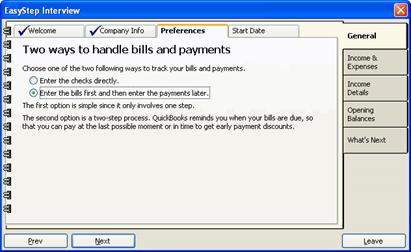
- Click Next.
- Choose when you want QuickBooks task reminders to appear-at start up, when you ask for it, or rarely:
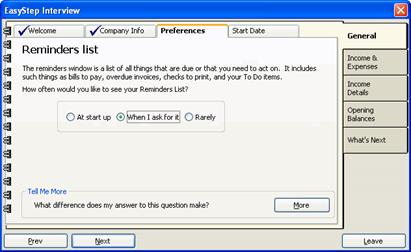
- Click Next.
- The next screen lets you specify whether you use cash-based or accrual-based reporting. Cash-based reporting tracks income and expenses as money is received and sent; accrual-based reporting tracks income and expenses based on invoices and bills.
Accrual-based reporting lets you more effectively track expenses generated in producing sales, and results in a more accurate picture of your company’s overall financial health. Unless you pay all your bills as soon as you receive them and carry no accounts receivable (that is, you sell all your inventory for cash or credit), you should choose Accrual-based reports. Even if you use cash-based reporting when you file taxes, you can still select accrual-based reporting here and generate cash reports from QuickBooks when you need them.
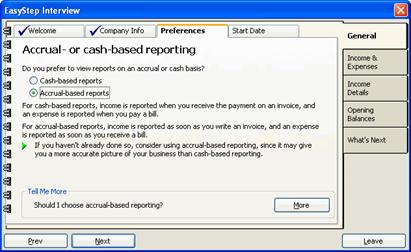
- Click Next.
This completes the Preferences tab.