Formatting Basics
Simple Text Formatting
Text formatting options appear on the Home tab of the Ribbon. Many of the buttons on this tab open menus with additional formatting options. Once you get used to this new interface, you’ll find that formatting text and paragraphs is quicker than ever:
- Select the text you want to change, or, to apply formatting to new text, place the insertion point where you plan to type.
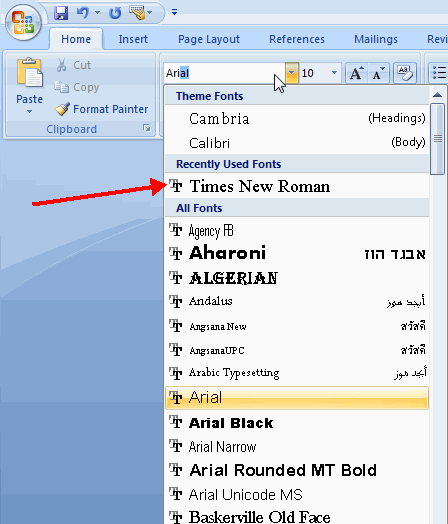
- Select a font from the Font menu.
Note that recently used fonts appear at the top of the list:
Tip:
If you know the font you want to use, you can type it into the field. As you type, Word matches the letters to existing fonts and auto-completes the field.
- Select a size from the Size menu.
Tip:
You can increase the font size by increments by clicking the Grow Font ![]() and Shrink Font
and Shrink Font ![]() buttons.
buttons.
- Click the Bold
 button to apply bold formatting, the Italic button to apply italics, or the Underline button to underline the text.
Tip:
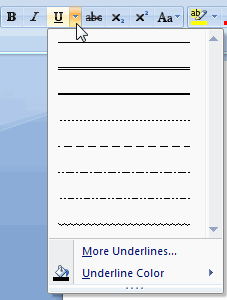
Word includes a number of underline options, which you can access by clicking the arrow next to the Underline button:
Click the buttons again to remove the formatting from the text.
Tip:
To apply simple formatting using keyboard shortcuts:
- For bold, press Ctrl + B.
- For italics, press Ctrl + I.
- For underline, press Ctrl + U.
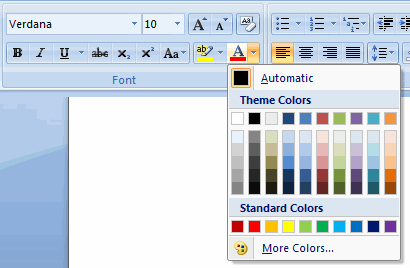
- To change the color of the text, click the down arrow on the Font Color button and pick a color from the pop-up menu.
Tip:
When you pick a color, the Font Color button changes to display the new color. You can click the button to quickly apply that color to more text.
Other buttons available on the Home tab for formatting text are Strikethrough ![]() , Subscript
, Subscript ![]() , Superscript
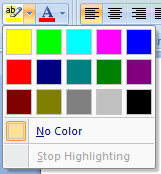
, Superscript ![]() and Highlight
and Highlight ![]() . With the Text Highlight Color button, you can open a pop-up menu to choose different highlight colors:
. With the Text Highlight Color button, you can open a pop-up menu to choose different highlight colors:
Tip:
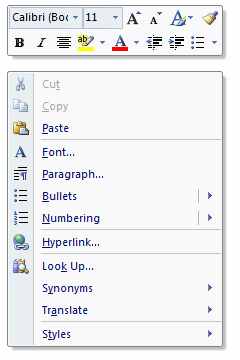
Some of the common formatting options are also available in the toolbar that appears when you right-click on the page:
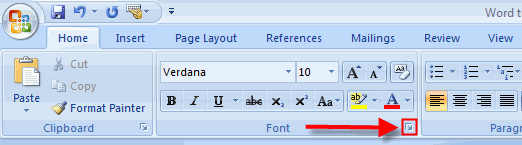
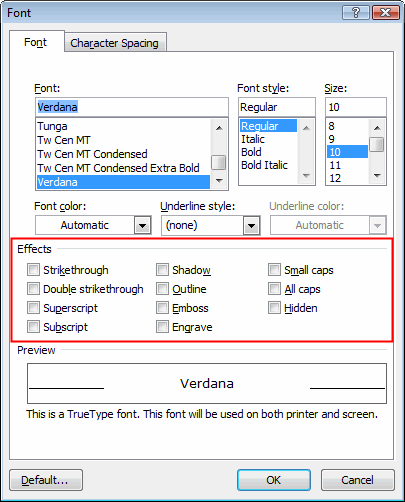
The Font dialog provides even more text effects. To access it, click the small arrow in the lower right-hand corner of the Font group:
Or, you can right-click on the text you want to change and select Font from the shortcut menu.
Tip:
You can change the default font Word uses for new documents by selecting the font you want and then clicking the Default button.
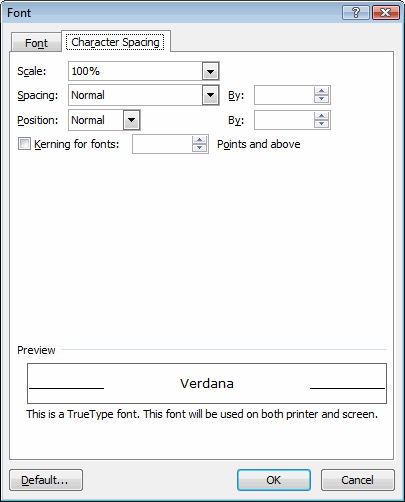
The Character Spacing tab lets you adjust the width of text, the spacing between characters, and the position of text in relation to the normal baseline:
· The Scale menu lets you select a percent by which to scale the width of your text. The first figure below shows text with a default scale; the second figure shows the same text scaled to 200%.
![]()
![]()
· Use the Spacing menu to specify spacing, in points, between characters. Kerning is similar, but changes the spacing between pairs of characters that are above a certain size. The characters that are kerned are determined by instructions embedded in the font itself.
· Use the Position menu to move the text above or below the baseline. The baseline is represented by the horizontal black lines in the Preview pane.
Tip:
Raising and lowering text is not the same as creating a superscript or subscript, which makes text smaller.