Creating Movie Clips
Movie clips are essentially animation symbols—self-contained animations that use their own Timelines and that can be reused over and over again. Like button and graphic symbols, movie clips can be resized, rotated and skewed on the Stage. You can either create a movie clip from scratch or convert an existing animation on the Main Timeline to a movie clip. Generally, it’s easier to create one from scratch:
- From the Insert menu, select New Symbol.
- In the Create New Symbol dialog, enter a name for the animation and select Movie clip as the behavior.
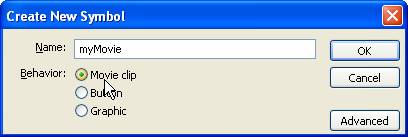
Click OK.
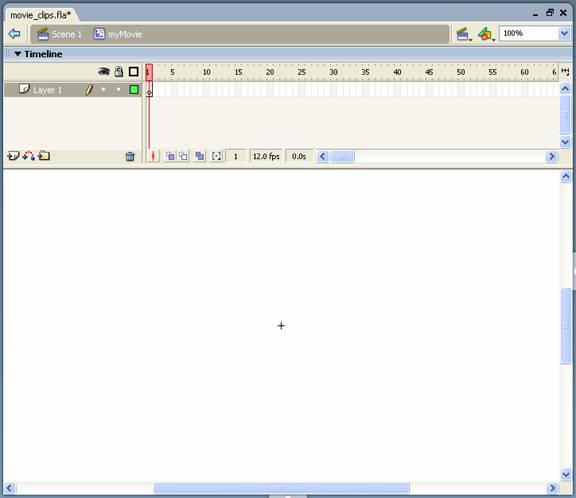
- Flash enters Edit mode, which for a movie clip, essentially amounts to opening a new Timeline. Notice that over the Timeline, the name of the movie clip appears. By default, the movie clip starts with one layer, called Layer 1.
- You create the movie clip just as you would any animation on the Main Timeline. Insert and name layers, drag instances of objects onto the Stage from the library, or create new objects. Remember that converting all your new objects to symbols, and then naming each instance of the symbol on the Stage, will save you a lot of grief later on.
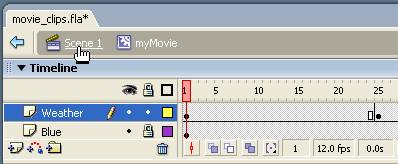
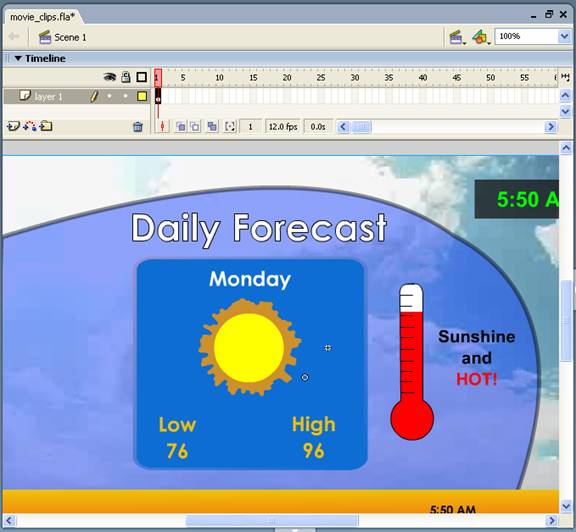
Below, we’ve created a weather animation with several layers, each of which has keyframes controlling when certain objects appear and disappear:

- When you’ve finished creating the animation, exit Edit mode by clicking the name of the scene over the Timeline:
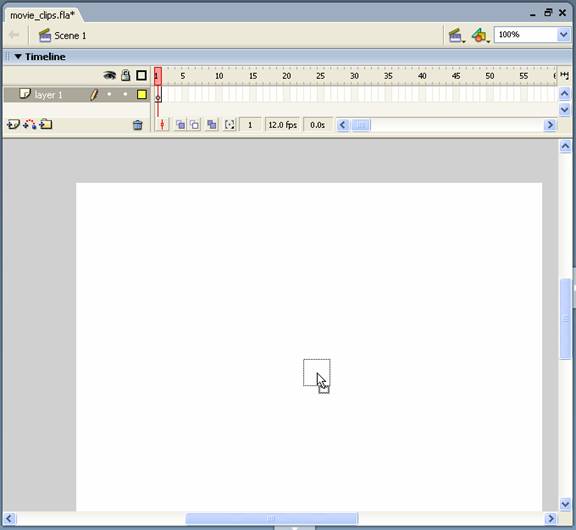
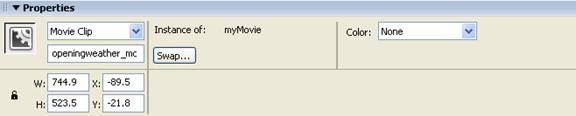
- The movie clip you created appears with the other symbols in the library. Drag it from the library onto the Stage:
Notice that the Main Timeline still only has one layer and one frame (a keyframe by default). Because movie clips exist on their own Timelines, you can add multiple clips with different Timelines to the same keyframe of the Main Timeline. There’s no need to add new frames to accommodate the animations. By the same token, the movie clip instance can exist on the Stage for as many frames in the Main Timeline as you need it.
- Don’t forget to name the instance of the movie clip symbol. As your movies become more complex, you’ll need to refer to these instances by name.
Tip:
It’s common to append the names of movie clip instances with “_mc”. When you do this, Flash, in the Actions panel, recognizes the instance as a movie clip and provides additional code hints.
- Test the movie to see the animation play.
To convert an animation on the Main Timeline into a movie clip:
- On the Timeline, click and drag to select all the frames and layers you want included in the movie clip.

To select all the frames and layers on the Timeline, open the Edit menu and select Timeline and then Select All Frames from the submenu.
- From the Edit menu, select Timeline and then Copy Frames from the submenu. Alternatively, you can select Cut Frames to remove them from the Main Timeline, but it’s generally safer to use Copy Frames and then delete the original frames from the Main Timeline when you’ve finished creating the movie clip.
- Fr
om the Insert menu, select New Symbol. - In the New Symbol dialog, enter a name for the movie clip and select Movie clip as the behavior. Click OK.
Flash enters Edit mode for the new movie clip.
- Click on frame 1 of the default Layer 1.
- From the Edit menu, select Timeline and then Paste Frames.
The layers and frames are added to the Timeline.
- Exit Edit mode by clicking the scene name or the Back
 button over the Timeline. If necessary, delete the original layers and frames by selecting them and then, from the Edit menu, selecting Timeline and Remove Frames. The animation appears in the library as a movie clip symbol.