Adding Behaviors to Buttons
In Flash, behaviors are pre-written scripts that you can add to object instances in your movie. They appear in the Behaviors panel:
To add a behavior to the button you just created:
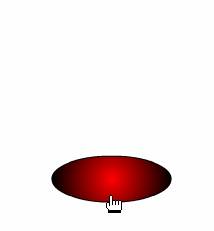
- Make sure you’re in the Main Timeline, and not in Edit mode. In the Timeline, click frame 1, and then, on the Stage, select the button you just created.
- It’s a good idea to name all the symbol instances you place on the Stage. Naming allows you to refer to them in script. It also enables additional selections in the Behaviors panel. In the Property Inspector, enter a name for the button instance, such as “myButton1”:

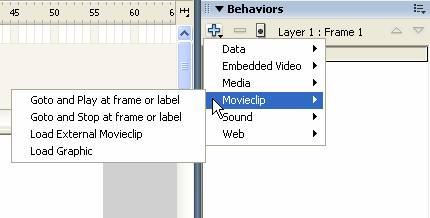
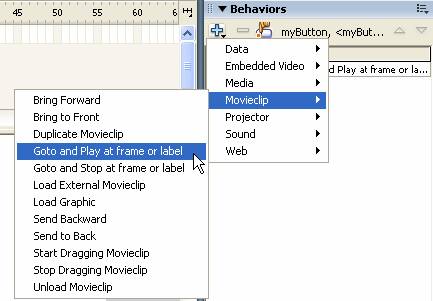
- In the Behaviors panel, click the Add Behavior
 button to open a menu of behaviors. Select Movie clip and then Goto and Play at frame or label.
A movie clip is essentially an animation that’s been converted to a symbol and resides on its own Timeline. We’ll demonstrate movie clips later in the tutorial, but for now, it’s enough to know that you can use this behavior to target a frame in either a self-contained movie clip or the Main Timeline. We’ll use the Main Timeline.
Selecting this behavior opens the Goto and Play at frame or label dialog:
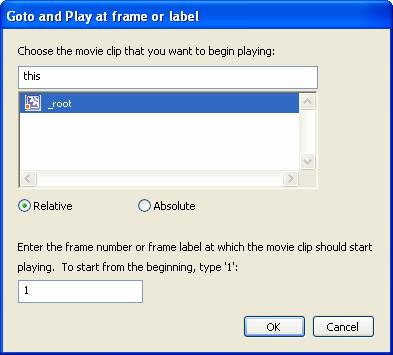
If you had added movie clips from the library, their instances would appear in the list beneath _root, which represents the Main Timeline of the movie. Notice that “this” appears in the field above the list. The “this” keyword indicates the current object. When you select a target location from the list, Flash fills in the field with a relative path, if Relative is selected in the dialog, starting with the current object (“this”). If Absolute is selected in the dialog, Flash fills in an absolute path, starting with _root. We’ll describe this method of targeti
ng objects in more detail later in the tutorial.
- At the bottom of the dialog, enter the number 3 to tell Flash to move forward in the Main Timeline (_root) to frame 3 when the button is pressed.
- Click OK.
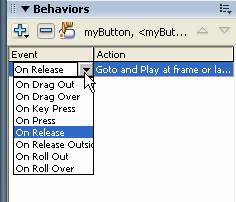
The behavior appears in the Behaviors panel:
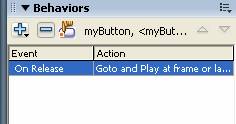
Notice that if you click inside the Event column, a menu appears, letting you select a different mouse event to apply the behavior to:
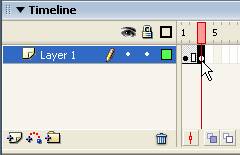
- To see how the button works, add a new keyframe (F6) to frame 3. Remember, the behavior moves the playhead to frame 3 when the user clicks the button.
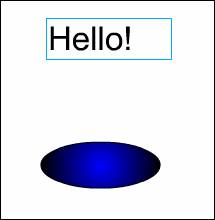
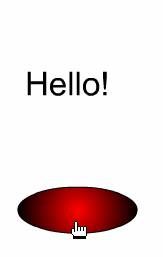
- With frame 3 selected, use the Text tool to add the word “Hello” to the Stage:
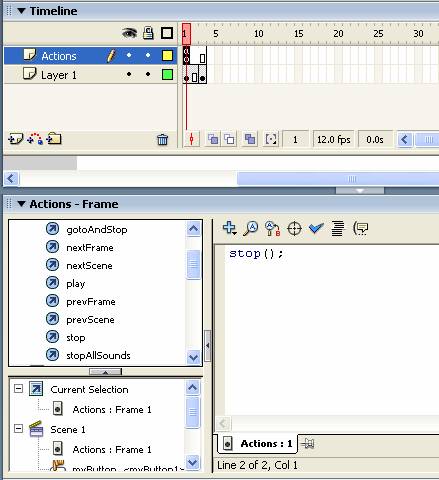
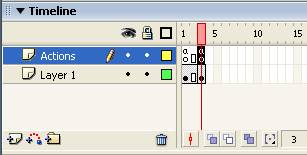
- Flash will automatically progress through the movie, making the button essentially useless, since “Hello” will quickly appear as soon as the playhead reaches frame 3, unless we tell Flash not to play the movie when it loads. To do so, add a new layer called “Actions” and, with the first frame of that layer selected, open the Actions panel. Add the stop() action, just as we did to the last frame of our motion tween earlier:
- The stop() action is used frequently throughout a movie to control the flow of events, from one animation to another. In a user-driven Flash movie, stop() will appear in many places to simulate traditional application screens, rather than the constant motion of animation. So far, we’ve added a stop() action to the beginning of the movie, so Flash will wait for the user to do something before moving through the Timeline. But once it starts moving, it’s going to keep going unless we add another stop() action to the last frame, the one with the “Hello” text. Without a stop() action here, “Hello” will appear and quickly disappear as soon as the user clicks the button, because the playhead will automatically move back to frame 1 in the Timeline, where the text does not appear.
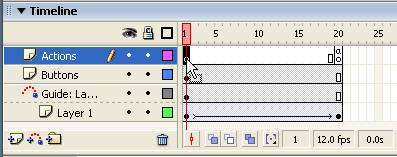
Add another keyframe to frame 3 of the Actions layer and, in the Actions panel, add another stop() action. The Actions layer should now display the small action symbol (a) in frames 1 and 3:
- Now, test the movie. When you click the button, the word “Hello” should appear:
Take a look at the ActionScript Flash inserted when you added the behavior to the button: Select the button on the Stage and open the Actions panel:
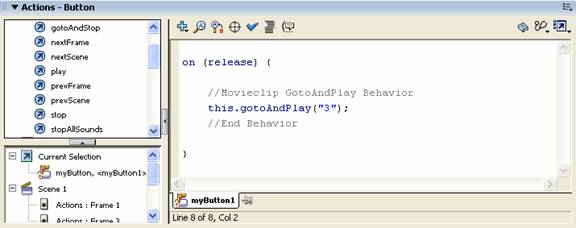
Notice that “myButton1” appears on the tab below the Script pane. You’re seeing the code attached to the button instance. The code itself is very simple: it tells Flash to move to and play frame 3 when the button is released. (The grey text next to the slashes (//) are comments—they’re informational only and don’t affect the code.)
Although you can use the Behaviors panel to quickly add simple behaviors to buttons, the Actions panel provides far more options. You’ll find the same behaviors in the list of actions, and then some.
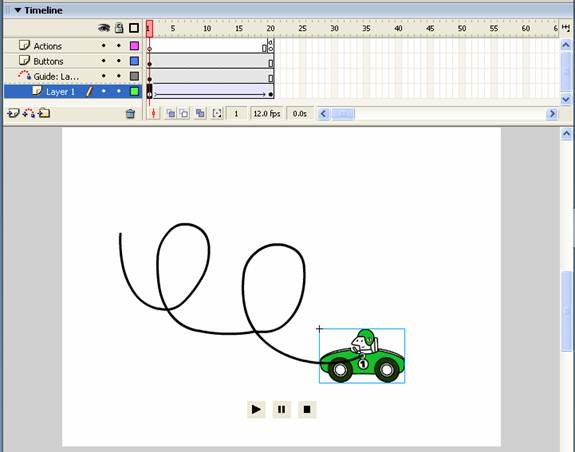
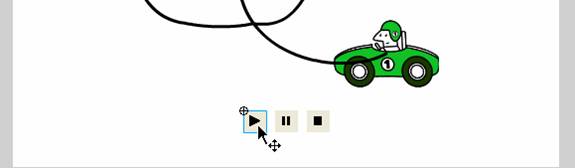
As an example, we’re going to return to our motion tween with the car. We’ll add some controller buttons—a play button, a pause button and a stop button. You can either create these yourself or borrow some from the Flash button sample library. Drag them onto the Stage, or draw them and convert them to symbols, naming each instance something like “btnPlay”, “btnPause” and “btnStop”. As you progress through the following steps, you can check the screenshots to make sure everything is correctly named and in place.
Below, our Stage shows the car with its motion guide layer—the path it will follow as it moves around the Stage. We’ve added a new layer for our buttons, and dropped the buttons on frame 1 of that layer (called “Buttons”):
We’ve also added an Actions layer to hold our ActionScript code. We did this earlier, when we added a stop() action to the end of the movie.
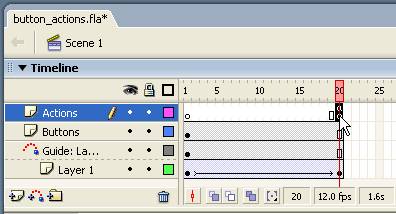
If you like, select the last frame of the Actions layer and open the Actions panel, just to verify that the stop() action is there:
Before we program our buttons we need to add a stop() action to the beginning of the movie, to prevent the Timeline from automatically moving forward as soon as the movie loads. We’ll do this now, and then we’ll add play and stop actions to our buttons to allow the user to control the progression:
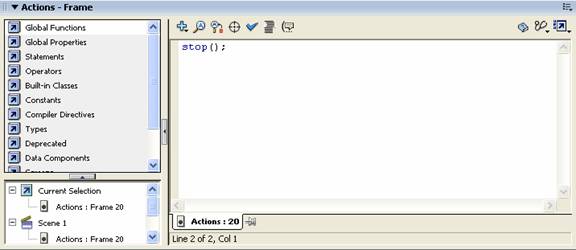
- Select the first frame of the Actions layer.
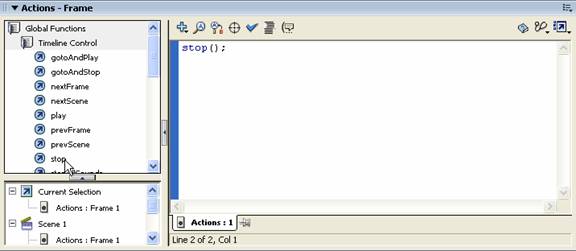
- Open the Actions panel. Click the Global Functions folder to expand it, and then click the Timeline Control folder to see a list of actions. Double-click the stop action to add it to the Script pane:
Now the movie will wait for an event before playing the animation.
- On the Stage, select the play button.
- If it isn’t still open, open the Actions panel. Verify that you’re in the Script pane for the play button.
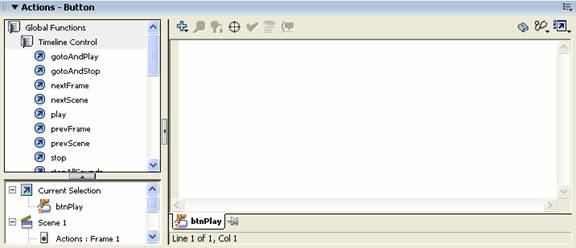
- You can either use the folder list to navigate to available actions, or you can add an action using the plus button at the top of the Script pane.
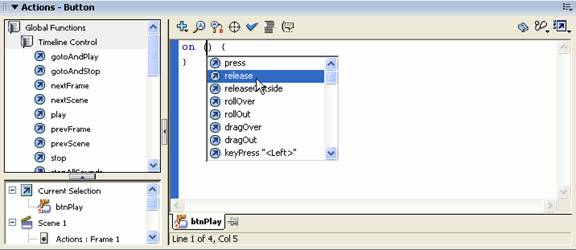
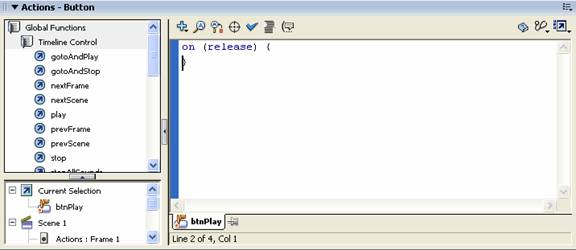
Remember that when we added a behavior to our button earlier, we selected a movie clip behavior from the Behaviors panel. Flash automatically added the event for the mouse (on release). When we add script using the Actions panel, we need to add the event manually. Under Global Functions, select Movie Clip Control and then on from the submenu:

When we add the on event, Flash inserts the code and then
pops up a menu allowing us to select which event we want to use. Double-click release in the menu to insert it. The on(release) event makes the behavior happen when the user releases the mouse button after clicking it.
Tip:
If you accidentally lose the pop-up menu, click the Show Code Hint ![]() button on the toolbar over the Script pane.
button on the toolbar over the Script pane.
The Script pane should now look like the following:
- We now need to add the action that will be performed when the user releases the mouse button. We’re interested in actions related to the Timeline—that is, we want to use the buttons to control the progression of the Timeline. Therefore, we’ll select an action from the Timeline Control folder. Make sure the cursor is positioned between the two curly braces ({}) in the Script pane, and double-click play in the Timeline Control folder:

This tells Flash to play the animation when the user clicks the play button.
- We’ll follow the same steps for our pause and stop buttons. Select the pause button on the Stage and, in the Actions panel, add another on(release) event, just as you did for the play button.
- Between the curly braces, add a stop() action from the Timeline Control folder.

The stop() action will stop the animation in whatever frame is currently active when the user presses the pause button. If the user then presses the play button, the animation will continue from that frame. This is an effective means of essentially pausing the animation.
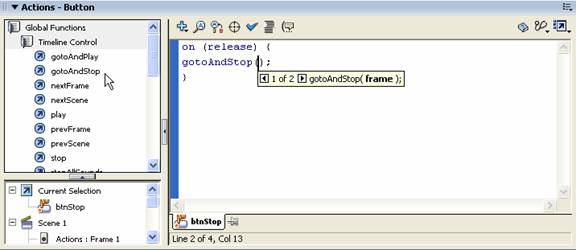
- Finally, select the stop button on the Stage and, in the Actions panel, add another on(release) event. This time, we’re going to tell Flash to return to the beginning of the animation and stop. With the cursor positioned between the curly braces, double-click the gotoAndStop action in the Timeline Control folder.
Notice that Flash displays a code hint when additional parameters are required:
The code hint tells us that it needs a frame number—frame appears in bold in the hint, indicating what’s currently needed. Type 1 for frame 1:
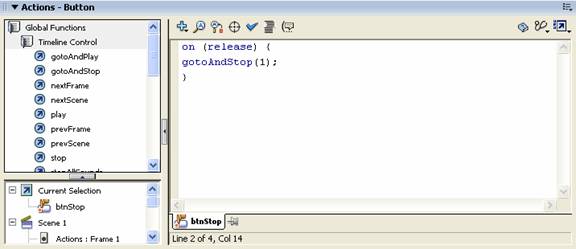
- Save the file and test the movie. Click each button to see how it responds.
This was a simple example of adding actions using the Actions panel, but if you explore the Timeline Control folder, you’ll see a range of available actions that don’t appear in the Behaviors panel. For example, you can add an action that progresses the animation forward or backward frame by frame (nextFrame and prevFrame) or scene by scene (nextScene or prevScene).