Creating Shape Tweens
Shape tweens are similar to motion tweens, except they involve the morphing of one object into another. For example, a star shape might appear in the first keyframe, but is then replaced with a circle in the second keyframe. The tween gradually shows the star morphing into the circle. You can also change the properties of the two objects so color, size, Alpha value, etc., change during the animation.
To create a shape tween:
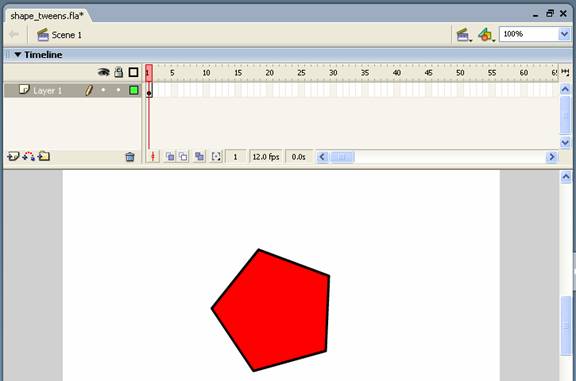
- On the Timeline, select the layer and frame where you want the animation to start. In a new Flash document, you can select the first frame of Layer 1.
- Place a starting object on the Stage. For example, you can use one of the tools on the Tools panel to draw a shape. Position it where you want the object to appear at the beginning of the animation.
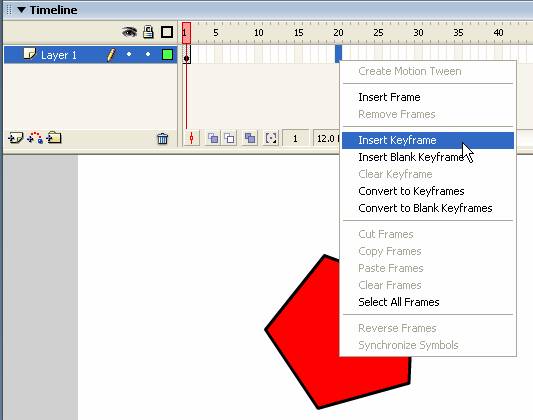
- Insert a keyframe several frames away:
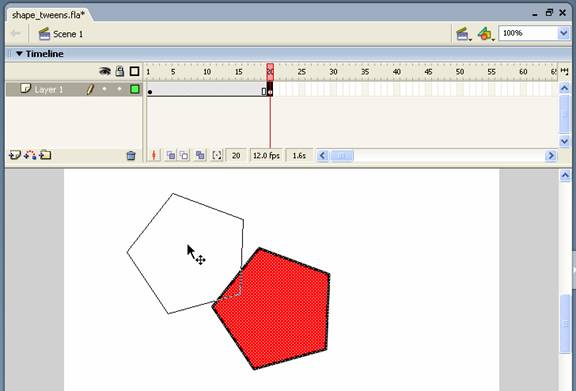
- Make sure the second keyframe is selected. For now, just move the object to a new position on the Stage.
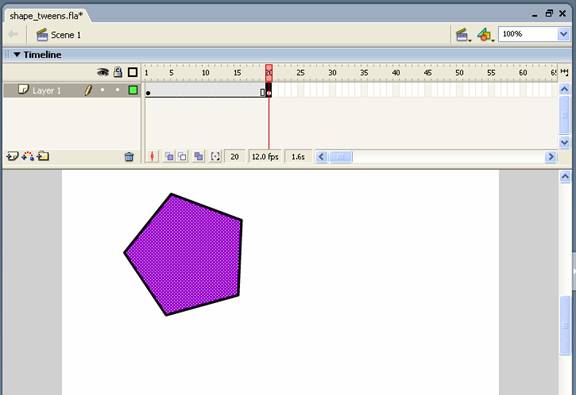
- Give the object a new fill color.
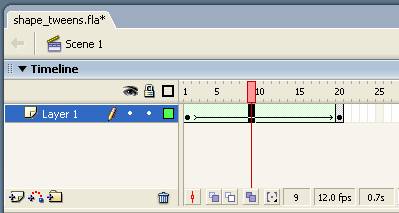
- Select one of the frames between the two keyframes. In the Property Inspector, select Shape from the Tween menu:

A forward arrow now appears between the two keyframes. The frames are tinted green, indicating a shape tween:
- Move the playhead to see how the object changes color as it moves:
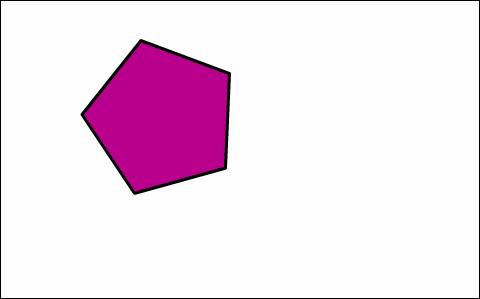
- Now, select the last keyframe and delete the graphic. Draw a circle in its place, using a different fill color from the starting graphic.
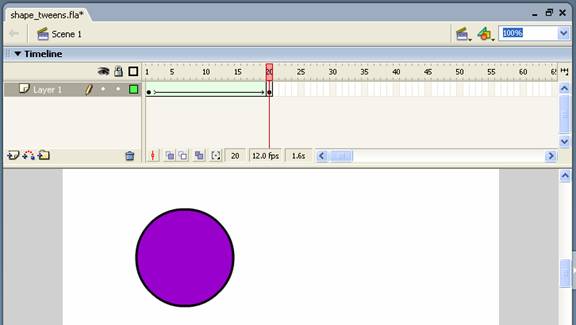
- Test the movie. Somewhere around frame 12, the graphic appears like this:

Adding Timeline Effects
Timeline effects are essentially pre-built animation settings that you can apply to text, graphics or button symbols. Effects include Blur, Drop Shadow, Expand and Eplode.
To add a Timeline effect to an object on the Stage:
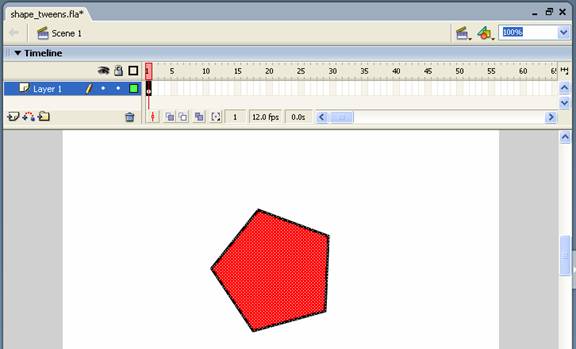
- Select the object, like the shape below, which appears on the first frame of Layer 1.
- From the Insert menu, select Timeline Effects, then Effects, and then the effect you want to apply from the submenu.
A window for that effect opens, showing a preview:
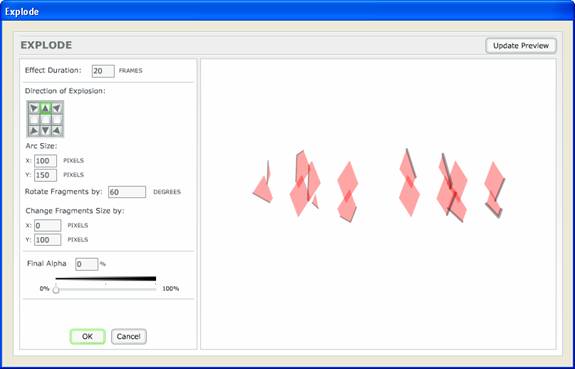
- Experiment with the settings in the window until the preview shows the effect the way you want it. Then click OK.
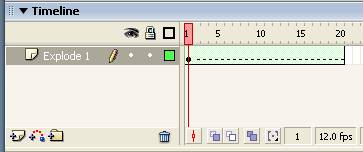
- The effect is immediately applied to the object. Flash moves the object into what it calls an “effect graphic”, and moves the graphic and the tween to a new layer, which it names according to the effect:
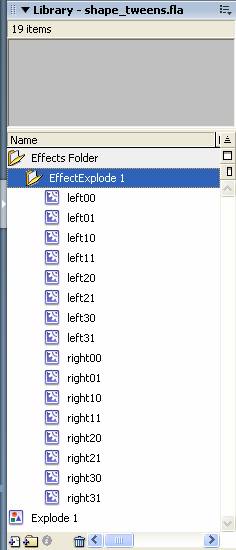
Assets for the effect are placed into a folder in the library:
Congratulations!
Congratulations, you have completed the Macromedia Flash MX 2004 tutorial – part one.
Learnthat.com has a second part in the Macromedia Flash tutorial series here. You can learn about more advanced Macromedia Flash topics and building Flash applications.