Using Motion Guide Layers
You can use a special layer, called a motion guide layer, to plot a course an image will follow during the animation:
- Start with the motion tween you created earlier, or open a new Flash document and create a motion tween. You can create the motion tween before or after you create the guide layer, as long as you begin with a starting graphic.
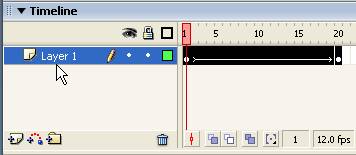
- Select Layer 1 by clicking on it in the Timeline.
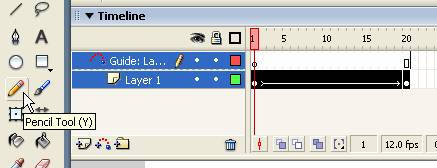
- At the bottom of the Timeline, click the Insert Guide Layer
 button.
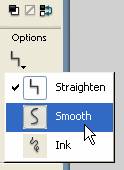
 - Click the Pencil tool on the Tools panel. Under Options, select Smooth.
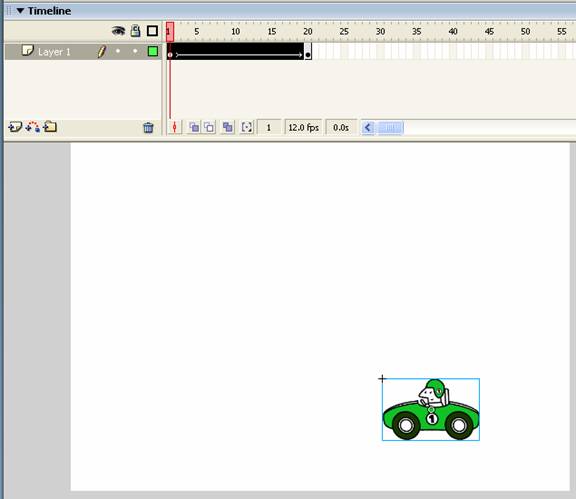
- On the Stage, draw the path you want the object in the animation to follow:
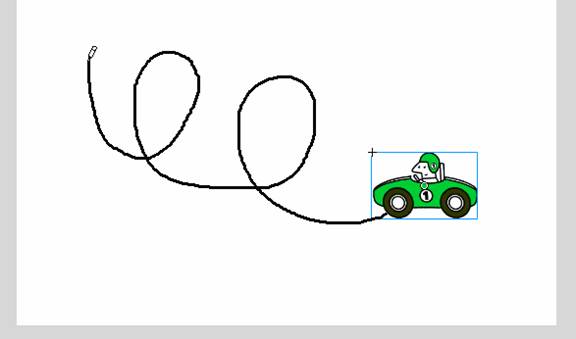
The path won’t appear in the final animation.
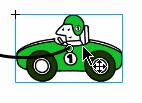
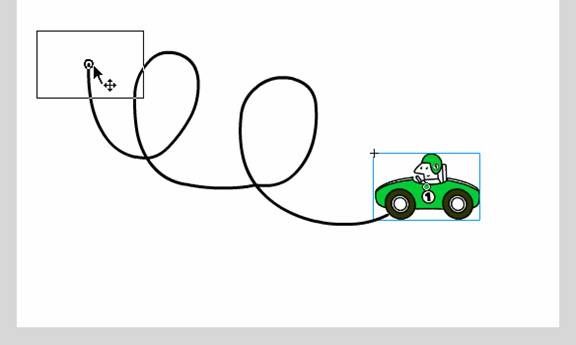
- Click on the first keyframe of Layer 1 to select the graphic. Move it to the end of the path you just drew. Flash displays a transparent circle in the middle of the graphic, which snaps to the beginning of the path when you move near it.
- Select the last keyframe on the same layer and move the graphic to the end of the path you drew. Snap it in place:
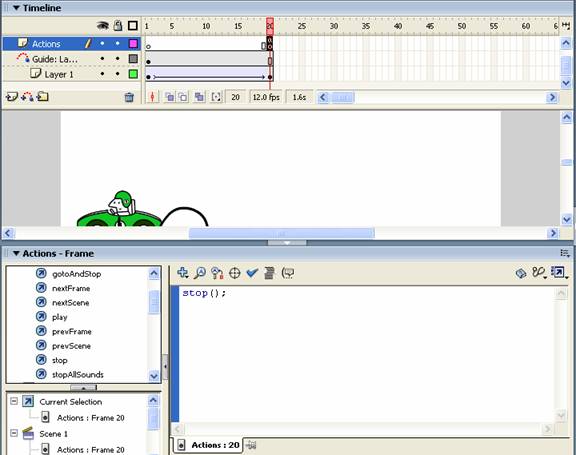
- Add a stop action to the end of the movie, as you did earlier, by inserting a new layer called “Actions” and a keyframe in the frame that corresponds to the end of the animation (for us, frame 20). With the keyframe on the Actions layer selected, open the Actions panel and type stop();.
- Test the movie. The object should move along the invisible path you drew, stopping at the end.