Getting Started
You can use any text editor, such as Notepad, to author ASP pages. TextPad and UltraEdit offer features that make developing easier, while full-featured web authoring applications like Dreamweaver and Visual Interdev offer extensive features and wizards to automate most common tasks.
Setting up a Web Server
ASP requires a web server to run. Windows 98 comes bundled with Personal Web Server (PWS), which you can install from your Windows installation CD. For Windows 95, ME or NT, you can get PWS by downloading the Windows NT 4.0 Option Pack from Microsoft’s web site. Windows XP Professional and Windows 2000 Professional include Internet Information Server (IIS); simply refer to your operating system documentation for installation instructions. Windows XP Home Edition does not support IIS; if you are running Windows XP Home, you will need to install a third-party web server, such as Apache, or use a free or commercial web host. While you can author ASP pages without installing a web server, you will not be able to preview the pages’ functionality on your computer.
Creating a Virtual Directory
Once you’ve installed a web server on your computer, you will need to create a virtual directory to contain your ASP site files. A virtual directory is either a subdirectory of the web site root or another directory mapped to a location on your computer. Each virtual directory represents a separate web site running on the server. For this tutorial, create a virtual directory mapped to a location on your hard drive:
- Create a directory (or folder) called LearnASP anywhere on your computer.
This tutorial will assume the directory is created on the root of the C: drive (C:\LearnASP).
- If you are using IIS, right-click on the My Computer icon on your desktop and choose Manage from the shortcut menu.
This opens the Computer Management Console. 
- Expand Services and Applications by clicking the + sign.
- Expand Internet Information Services by clicking the + sign.
- Expand Web Sites by clicking the + sign.
- Right-click on Default Web Site and, from the shortcut menu, choose New and then Virtual Directory.

- When the Virtual Directory Wizard starts, click Next.
- Enter an alias for your virtual directory.
An alias is an alternate name for the actual directory that contains your files. Using an alias is a way to simplify your users’ ability to access directories with long names; for example, if your directory is actually named ASP_Introductory_Tutorial_Site_Files, you can use the alias LearnASP. For this tutorial, enter the alias LearnASP and then click Next.
- On the next screen, browse to the folder you created for your ASP files and then click Next.
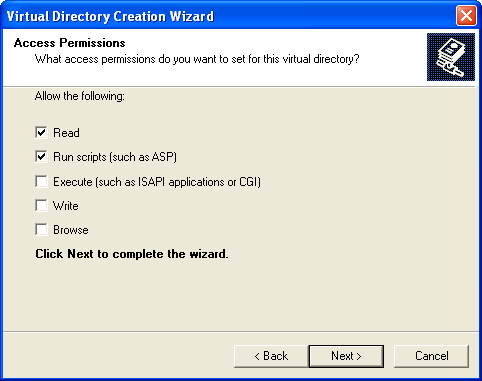
- On the Access Permissions screen, accept the default settings and click Next.
- Click Finish.
The virtual directory now appears under Default Web Site. You will save each of your ASP files in the C:\LearnASP folder. When you preview your web site, the virtual directory will know to look in that folder for the site files. To preview an ASP file contained in a virtual directory, you’ll type the following address into your browser: http://localhost/virtual_directory_name/filename.asp. 